Introduction
Scale models are the physical embodiment of design thinking — they let you hold, test, and visualize your ideas in the real world before committing to full-scale implementation. Instead of relying solely on sketches or a 2D computer screen, scale models offer a tangible way to explore how spaces interact with elements like sunlight, topography, and flow. When I first began, I used an X-Acto knife, and quickly learned how difficult it is to cut perfectly straight lines. That challenge pushed me toward smarter tools: Autodesk AutoCAD and a laser cutter, turning frustration into precision, and concept into form.

What's the purpose of scale models?
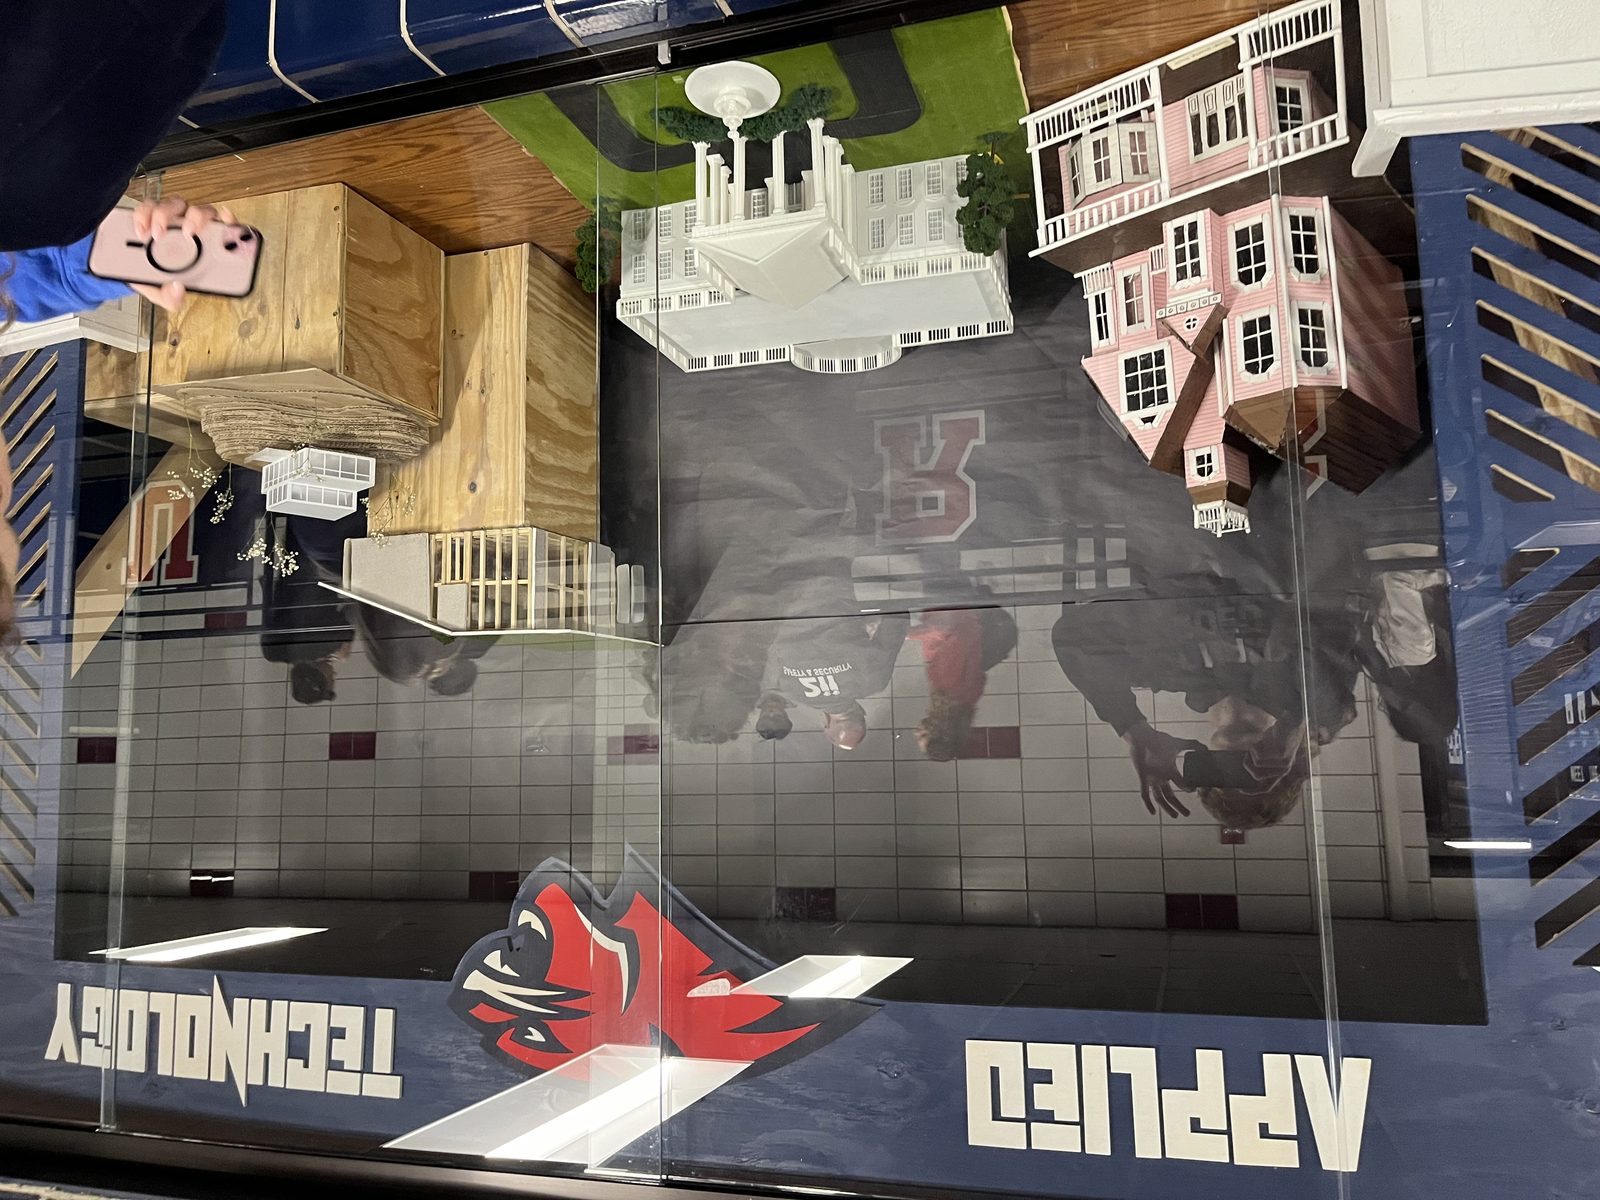
Architects often encounter a roadblock when trying to communicate their vision to clients. While architects are trained to visualize how every element of a structure will function on a given plot of land, clients typically don't have the same spatial or design intuition. This gap can lead to miscommunication, hesitation, or misalignment between a client's expectations and the final result.
Scale models bridge that gap — letting clients physically see, touch, and understand the spatial relationships, proportions, and context of a design before construction begins. This gives clients a clearer sense of the "feeling" of the building, arguably one of the most important goals of architecture: creating a space that not only functions but evokes comfort, inspiration, or awe.
Scale models aren't only beneficial for clients, though. They're equally valuable for architects and designers, who can use a physical representation to better test structural logic, sun orientation, and circulation patterns — issues that might go unnoticed in CAD software often reveal themselves in physical form.
Scale model creation process
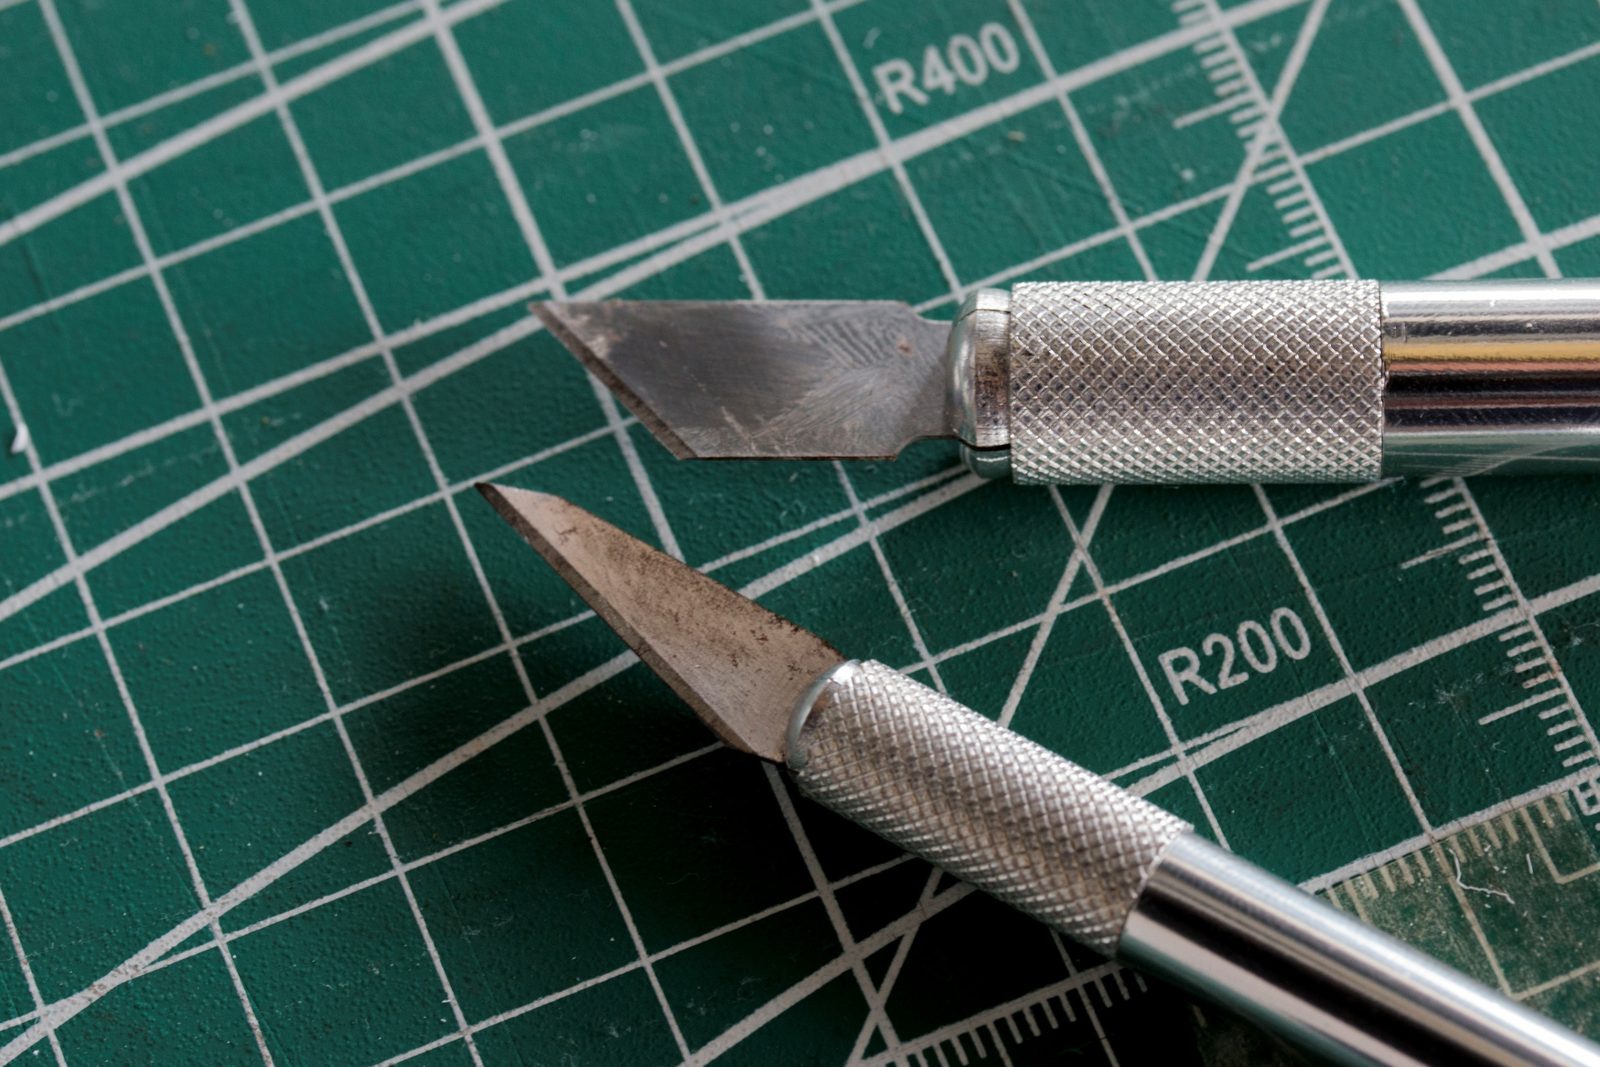
Rethinking the manual method
When I first attempted to cut my scale model by hand using basic woodworking tools, I quickly realized how difficult it would be to achieve clean, accurate results. The process was imprecise, time-consuming, and limited the complexity of what I could create. That’s when I decided to take a more technical route using Autodesk AutoCAD and a laser cutter available at my school’s fabrication lab. I already had experience with both, and they proved to be the perfect tools for the job.
Planning and 2D CAD drafting
Before jumping into software, I began by manually sketching each wall of the structure on paper. This helped me visualize the layout and catch mistakes early. Once I finalized the sketches, I replicated each one in AutoCAD, carefully drawing 2D profiles for every individual wall and architectural component. To maintain consistency, I used a ¼" = 1' scale, meaning every quarter inch on the model represented one foot in real life. Estimating wall heights and dimensions was guided by standard architectural proportions, and I referred to photos of the actual buildings I was modeling — including both the Contemporary Home and the White House — using my judgment to proportion the design elements accurately.
Laser cutting and assembly
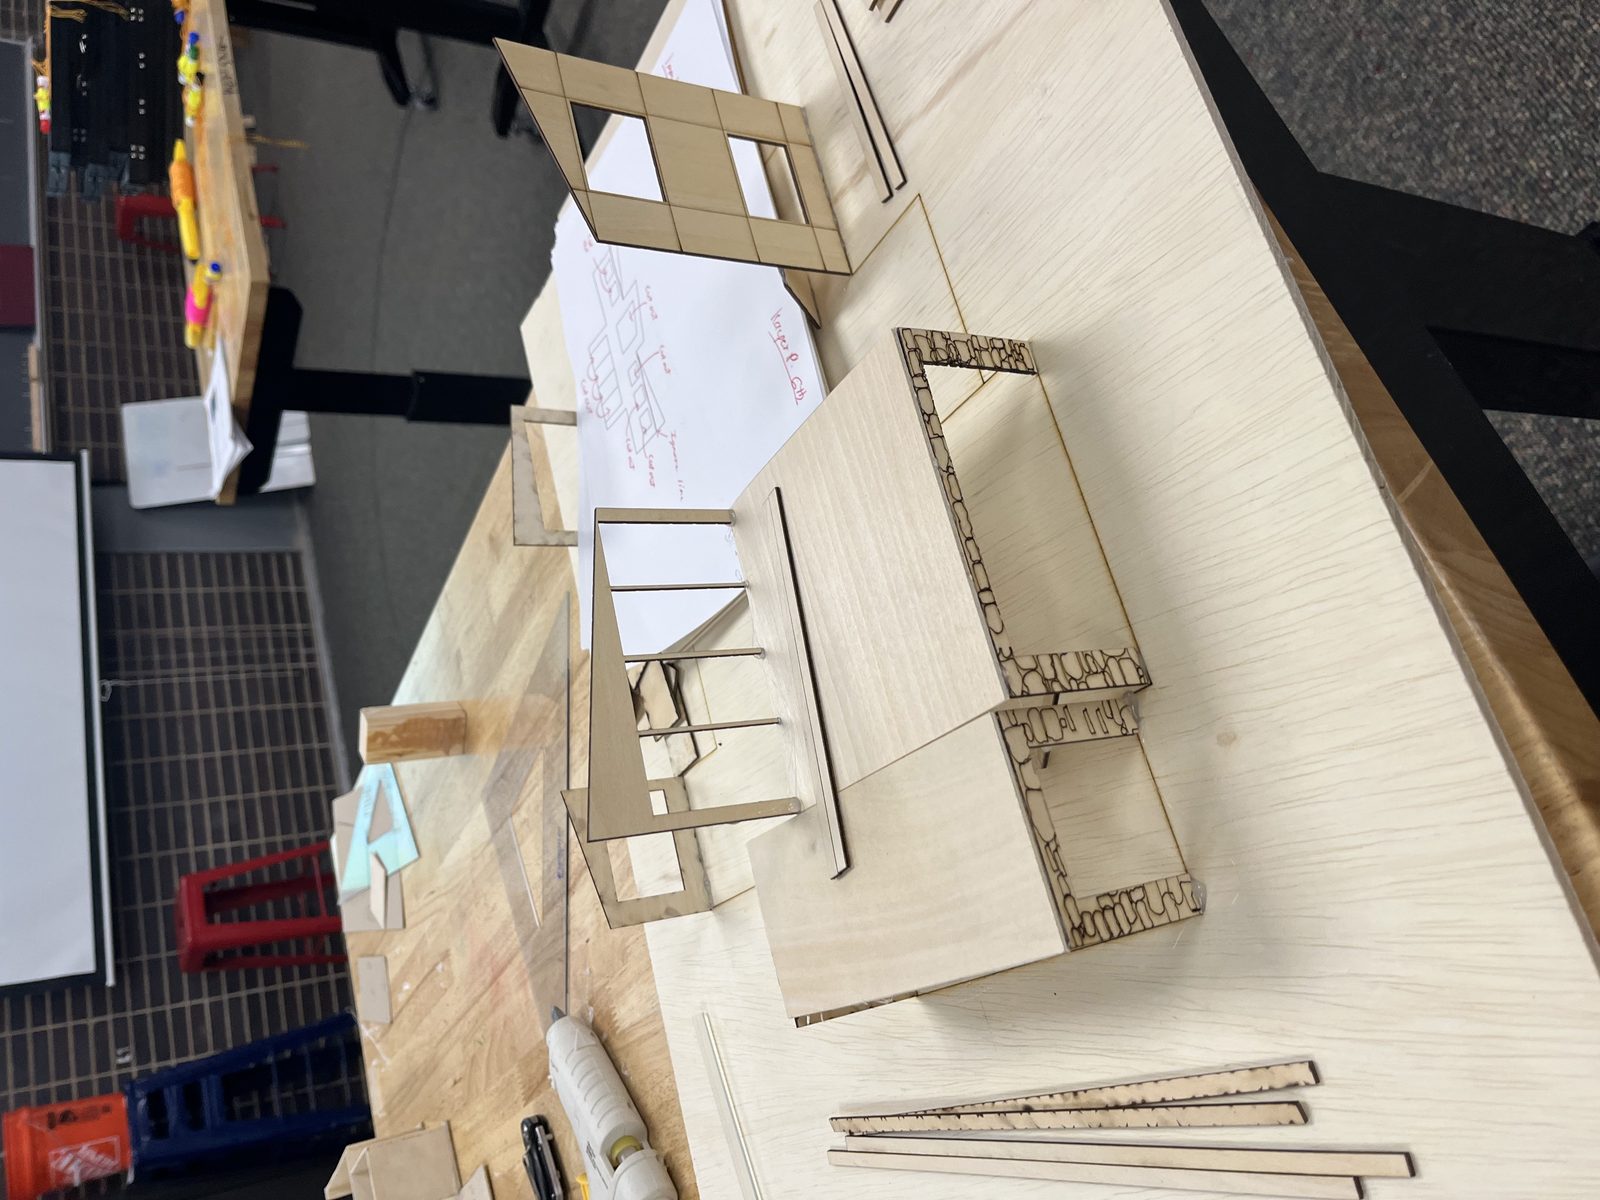
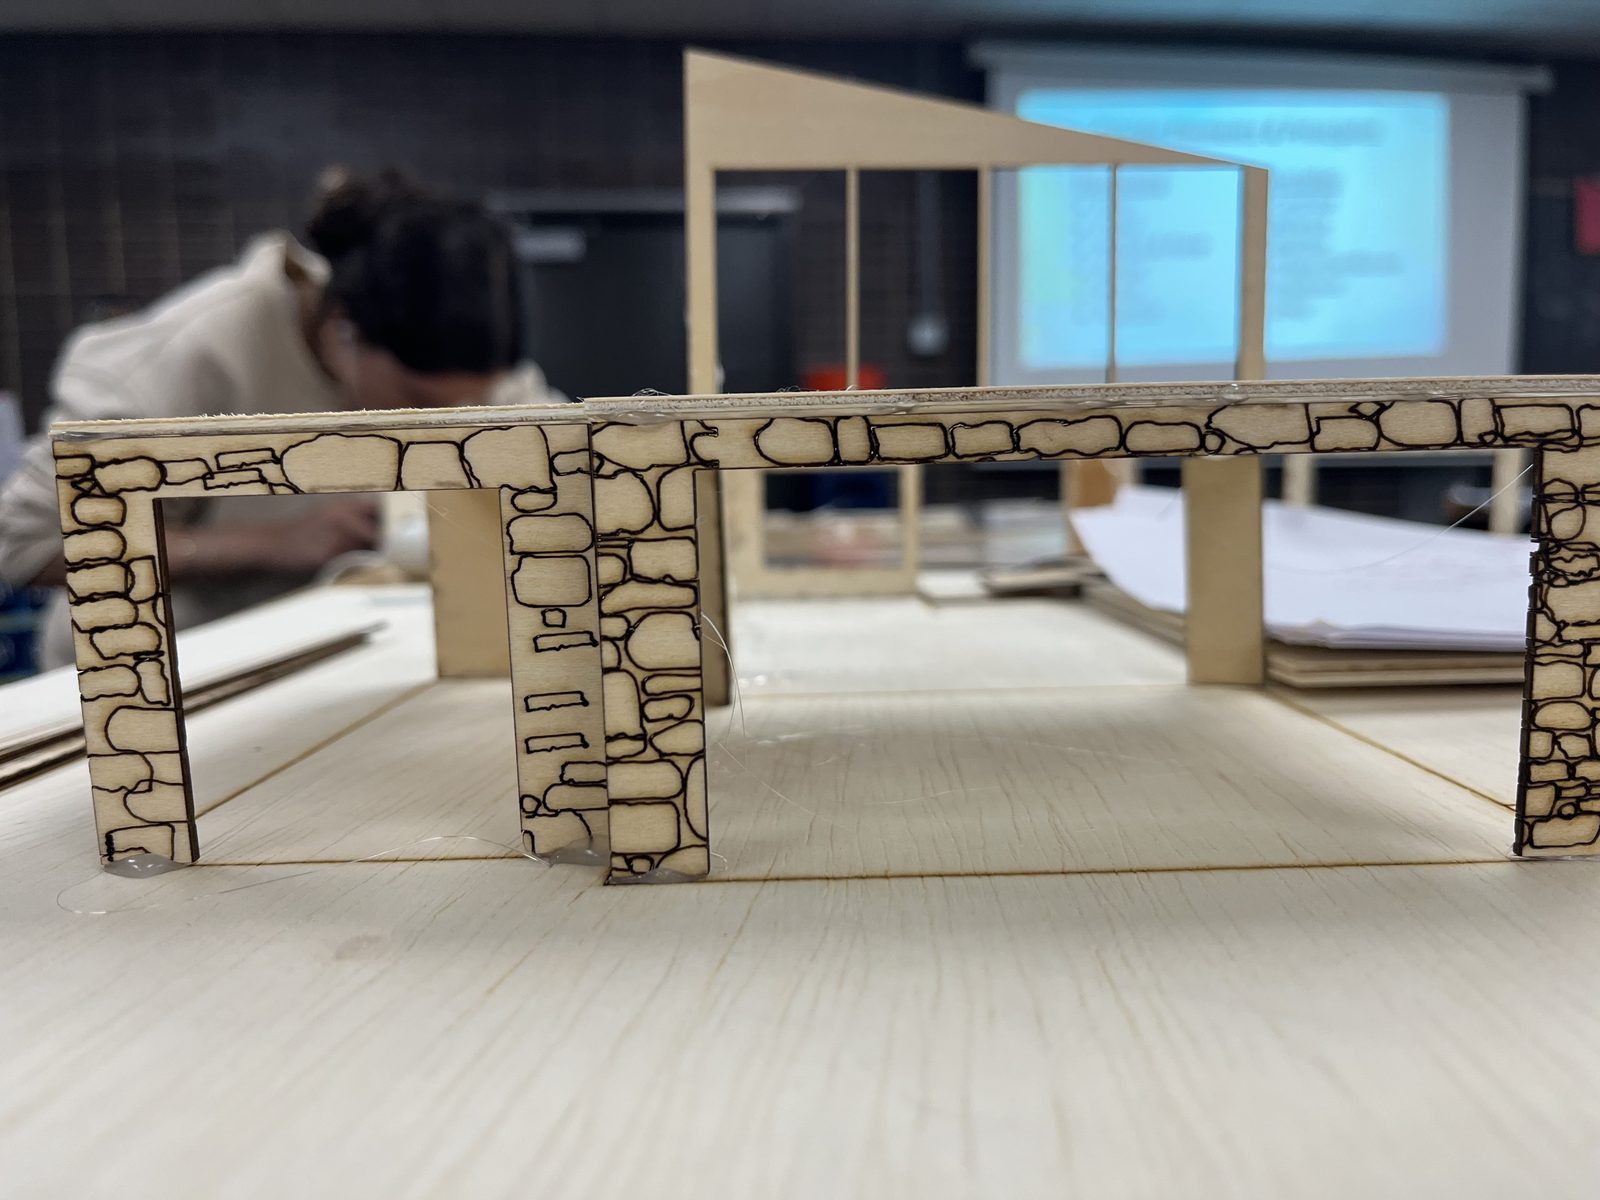
Once the digital 2D profiles were complete, I exported them to the laser cutter software. Using 1/8" birch plywood, I cut out each component and began assembling the walls, windows, and roof structures. The precise cuts from the laser allowed for tight tolerances and cleaner construction. Some issues arose along the way — like misaligned windows or CAD errors in wall spacing — but I was able to iterate quickly by correcting the drawings and re-cutting individual pieces. For elements like the garage door on the Contemporary Home, I used VCarve Pro to engrave textures directly into the wood for a custom, high-end finish.
Advanced detailing with 3D printing
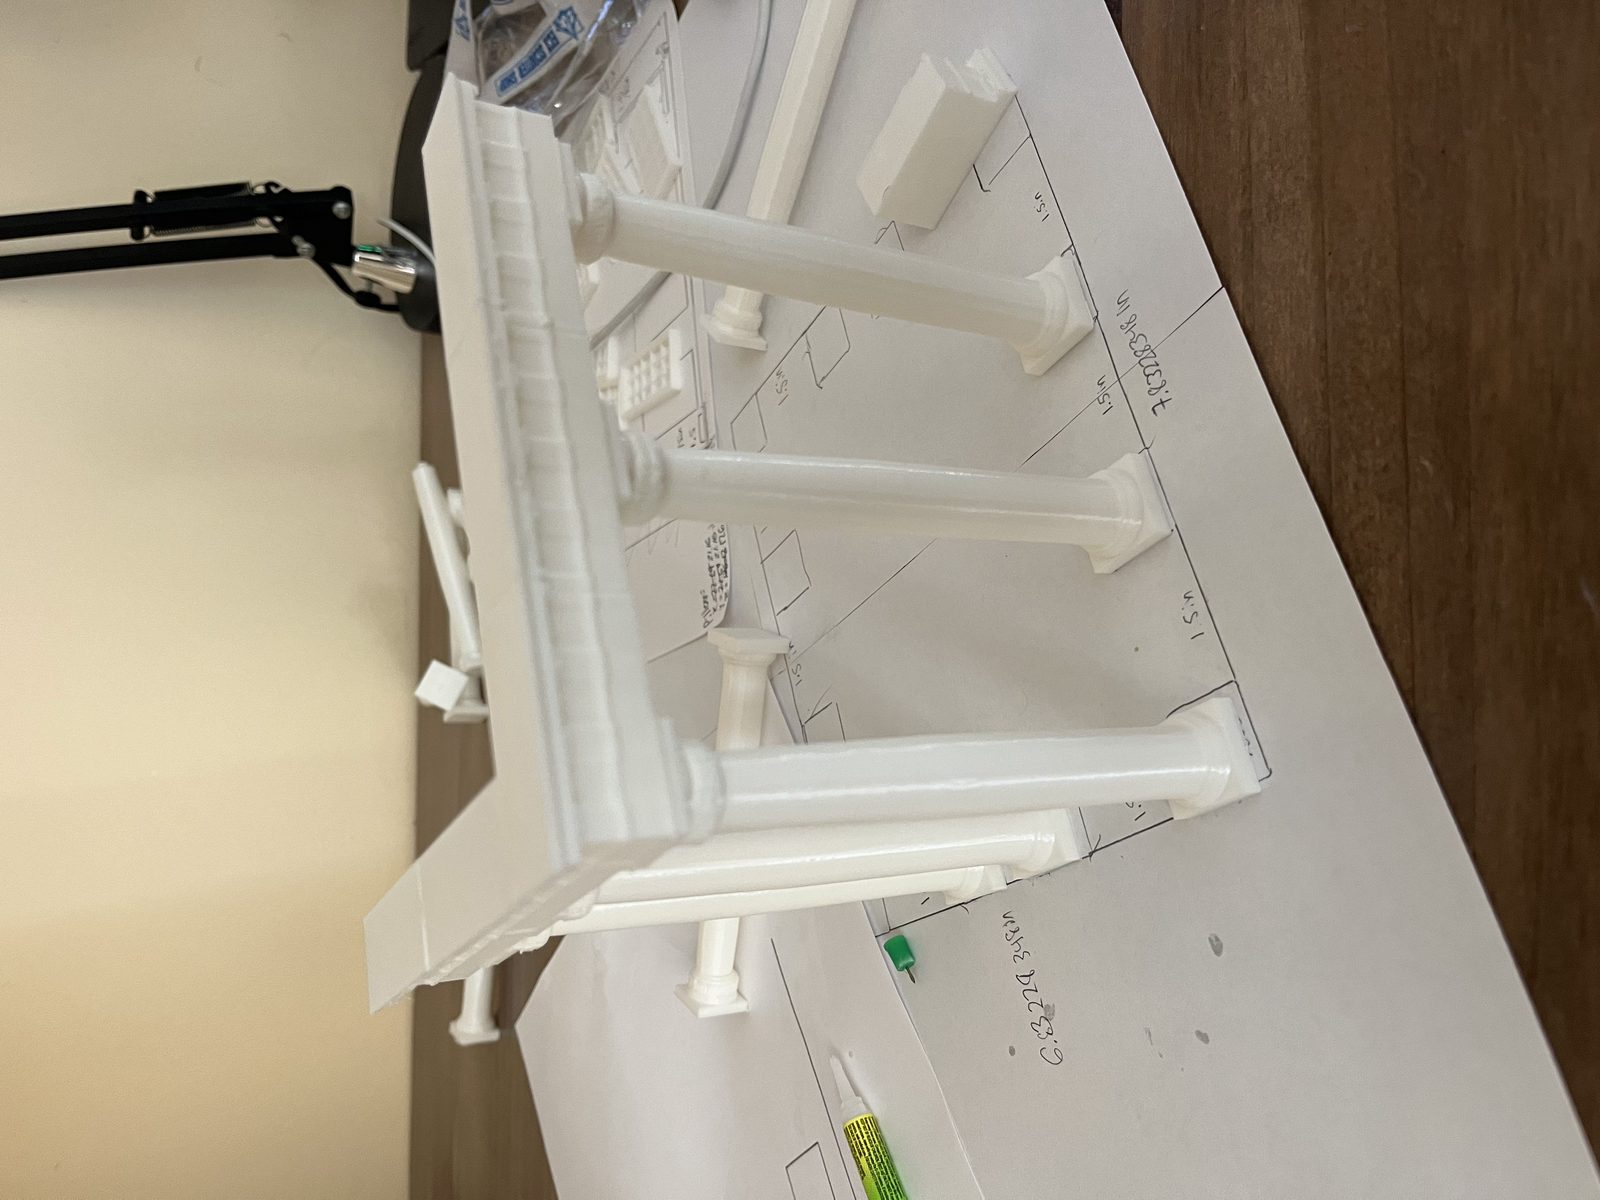
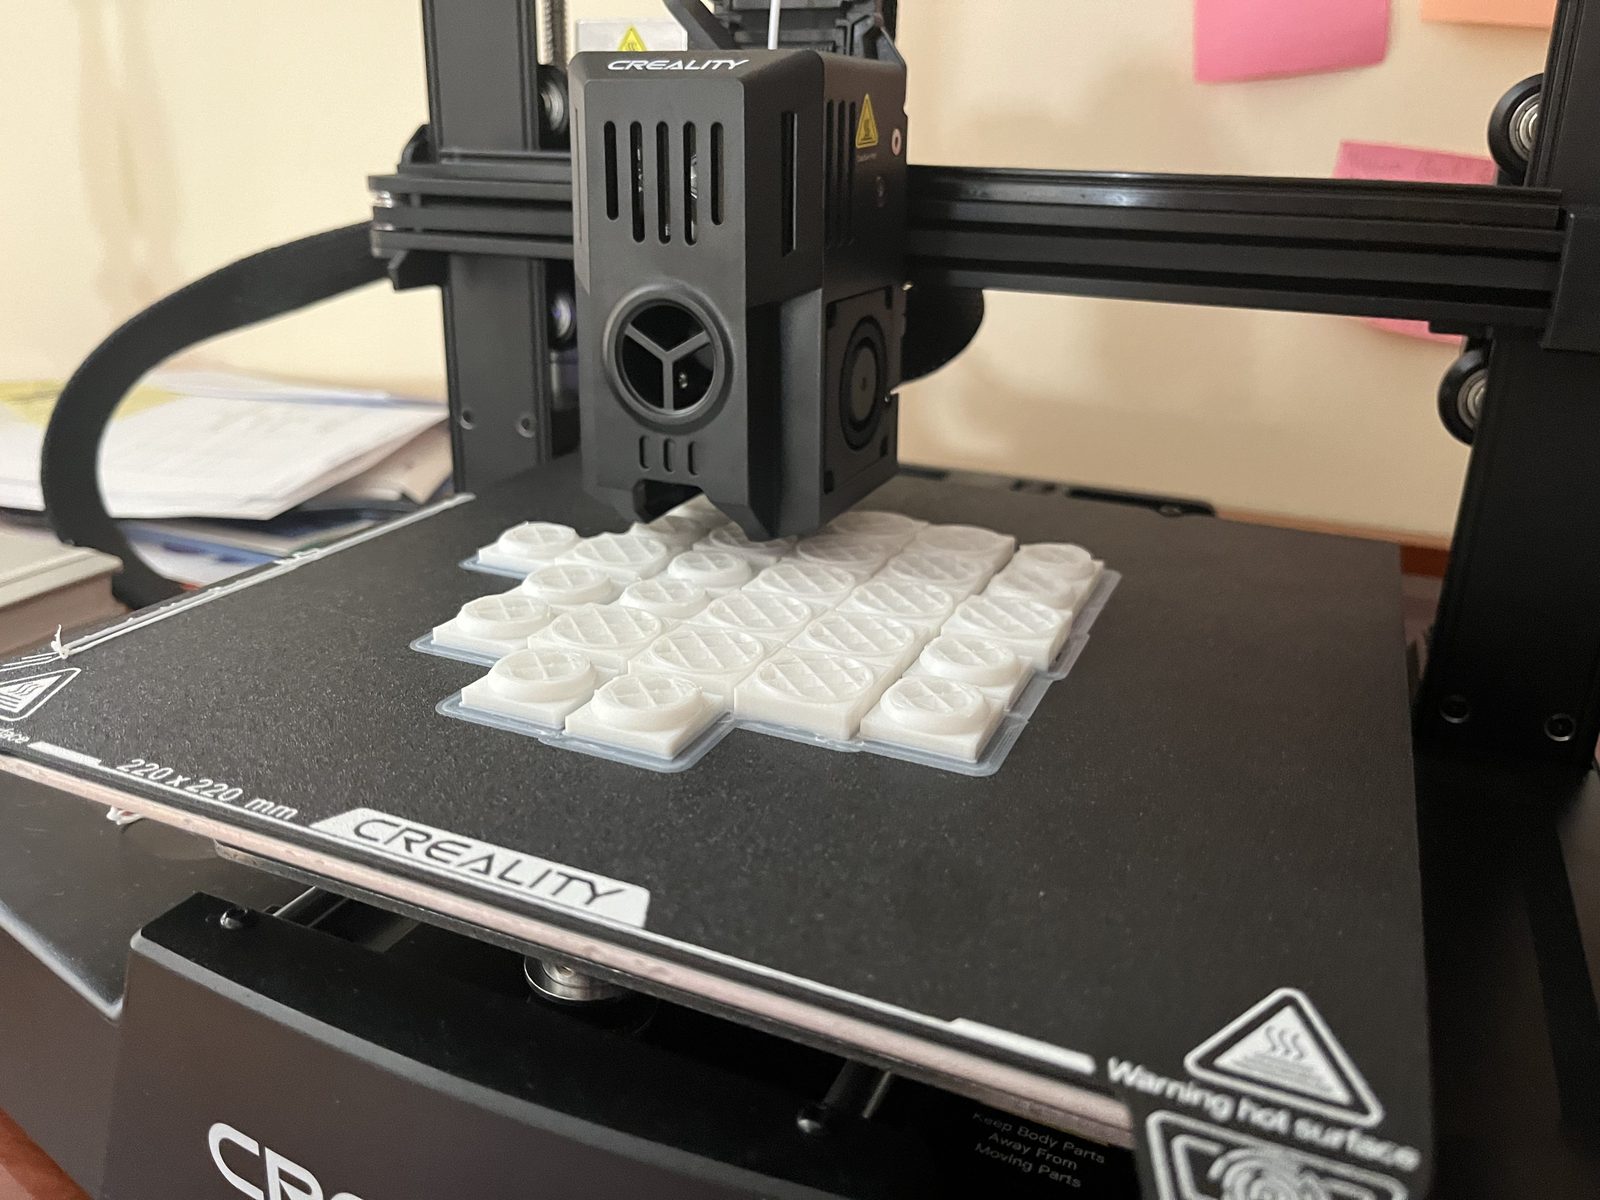
For the White House model, laser cutting wasn't enough to capture the ornate detailing. To solve this, I turned to Onshape, a 3D CAD software, to model architectural elements like windows, columns, fence posts, and the pediment above the entrance. After finalizing the designs, I sliced the files using Creality Slicer and printed them with my Creality Ender-3 V3 using white PLA filament. The contrast between laser-cut wood and 3D-printed features added a rich layer of realism and historical detail.
Finishing touches and landscaping
After all components were assembled, I spray-painted the wood sections with matte white paint for a uniform, clean appearance. For landscaping, I used grass flocking, miniature bushes, and model trees to bring the base of the White House to life. These final touches not only made the model more presentable but also enhanced its biophilic qualities and visual realism.
Gallery of my scale models
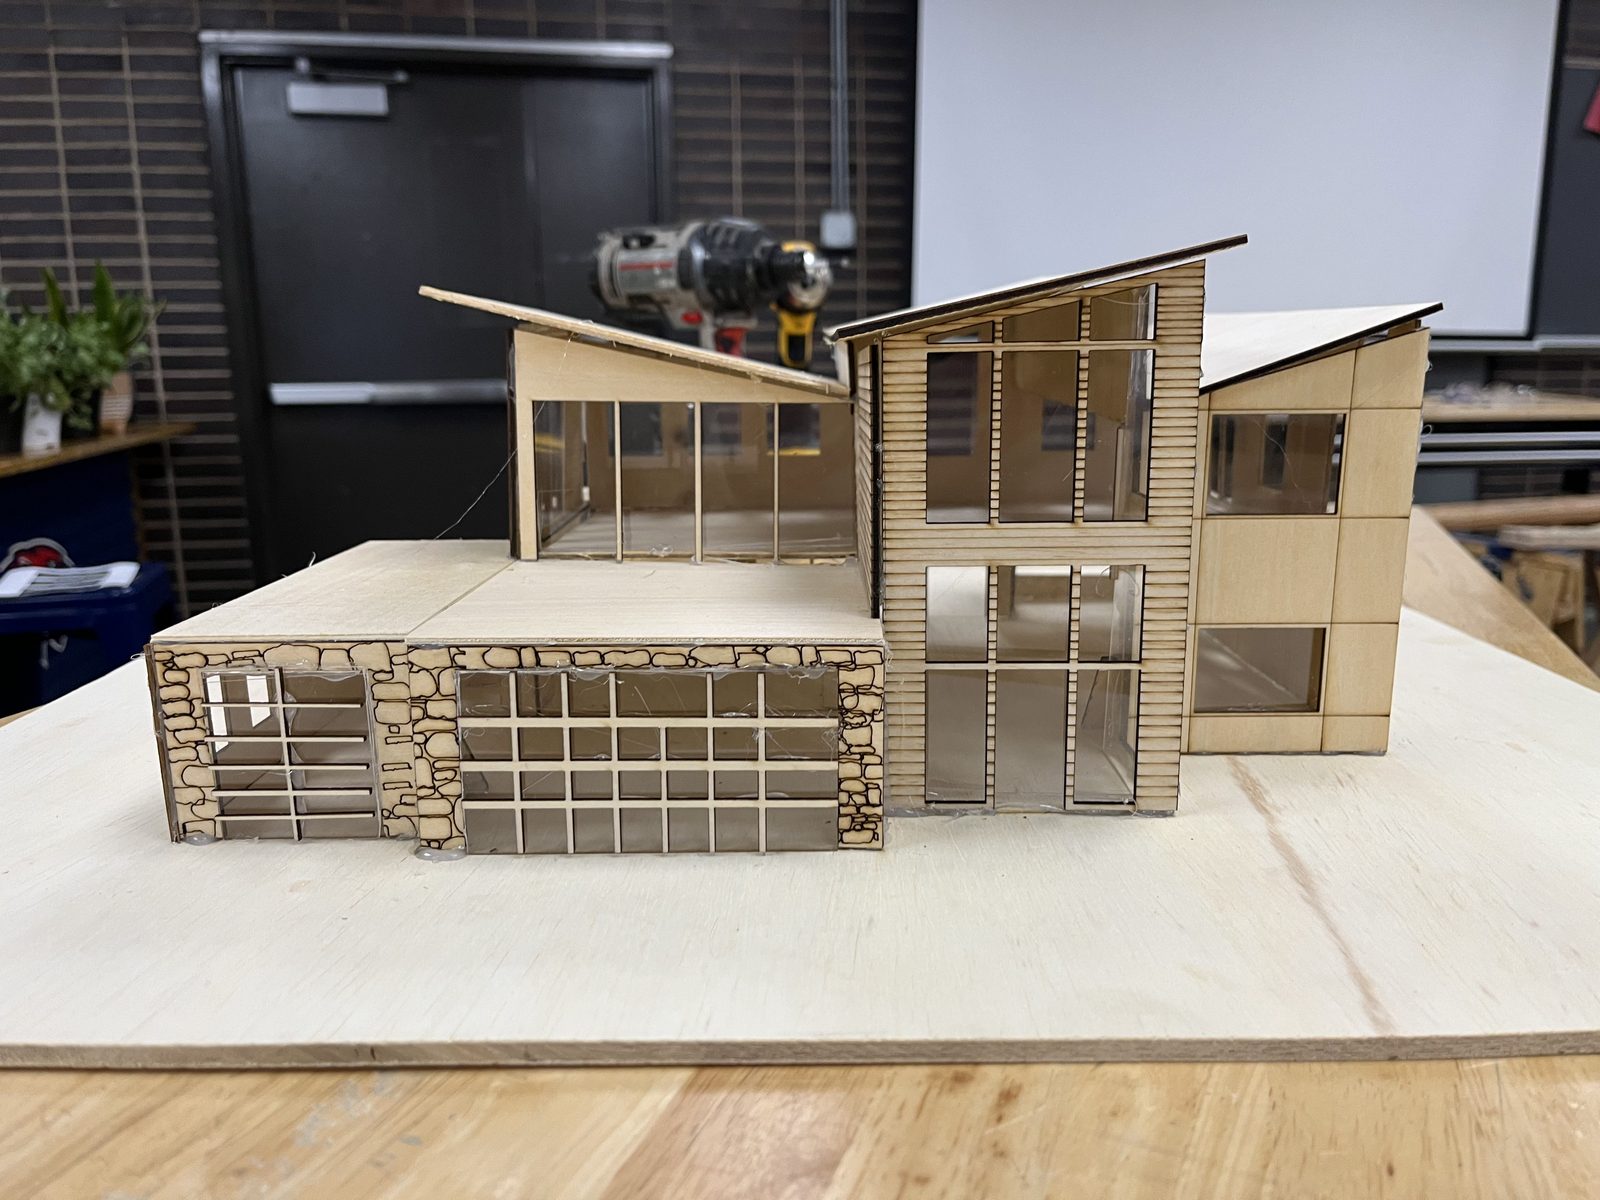
Contemporary Home
A scale model exploring shade and spatial openness.
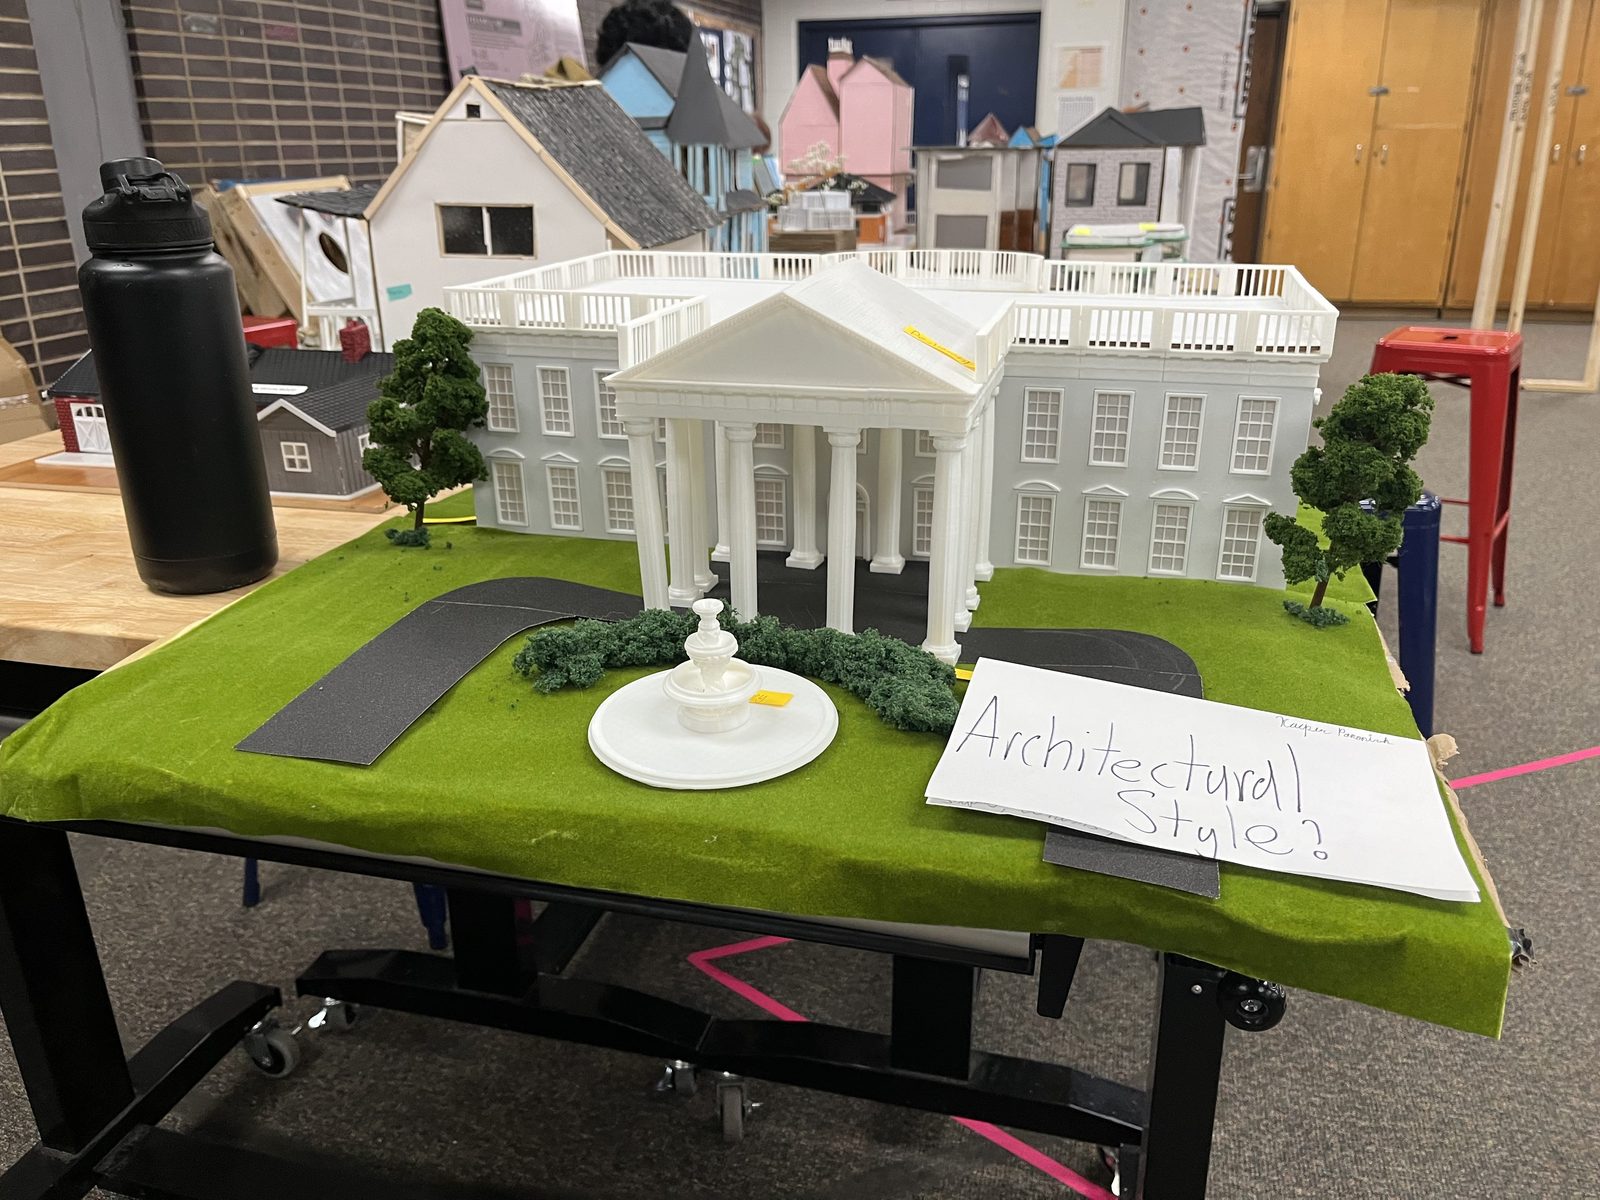
The White House
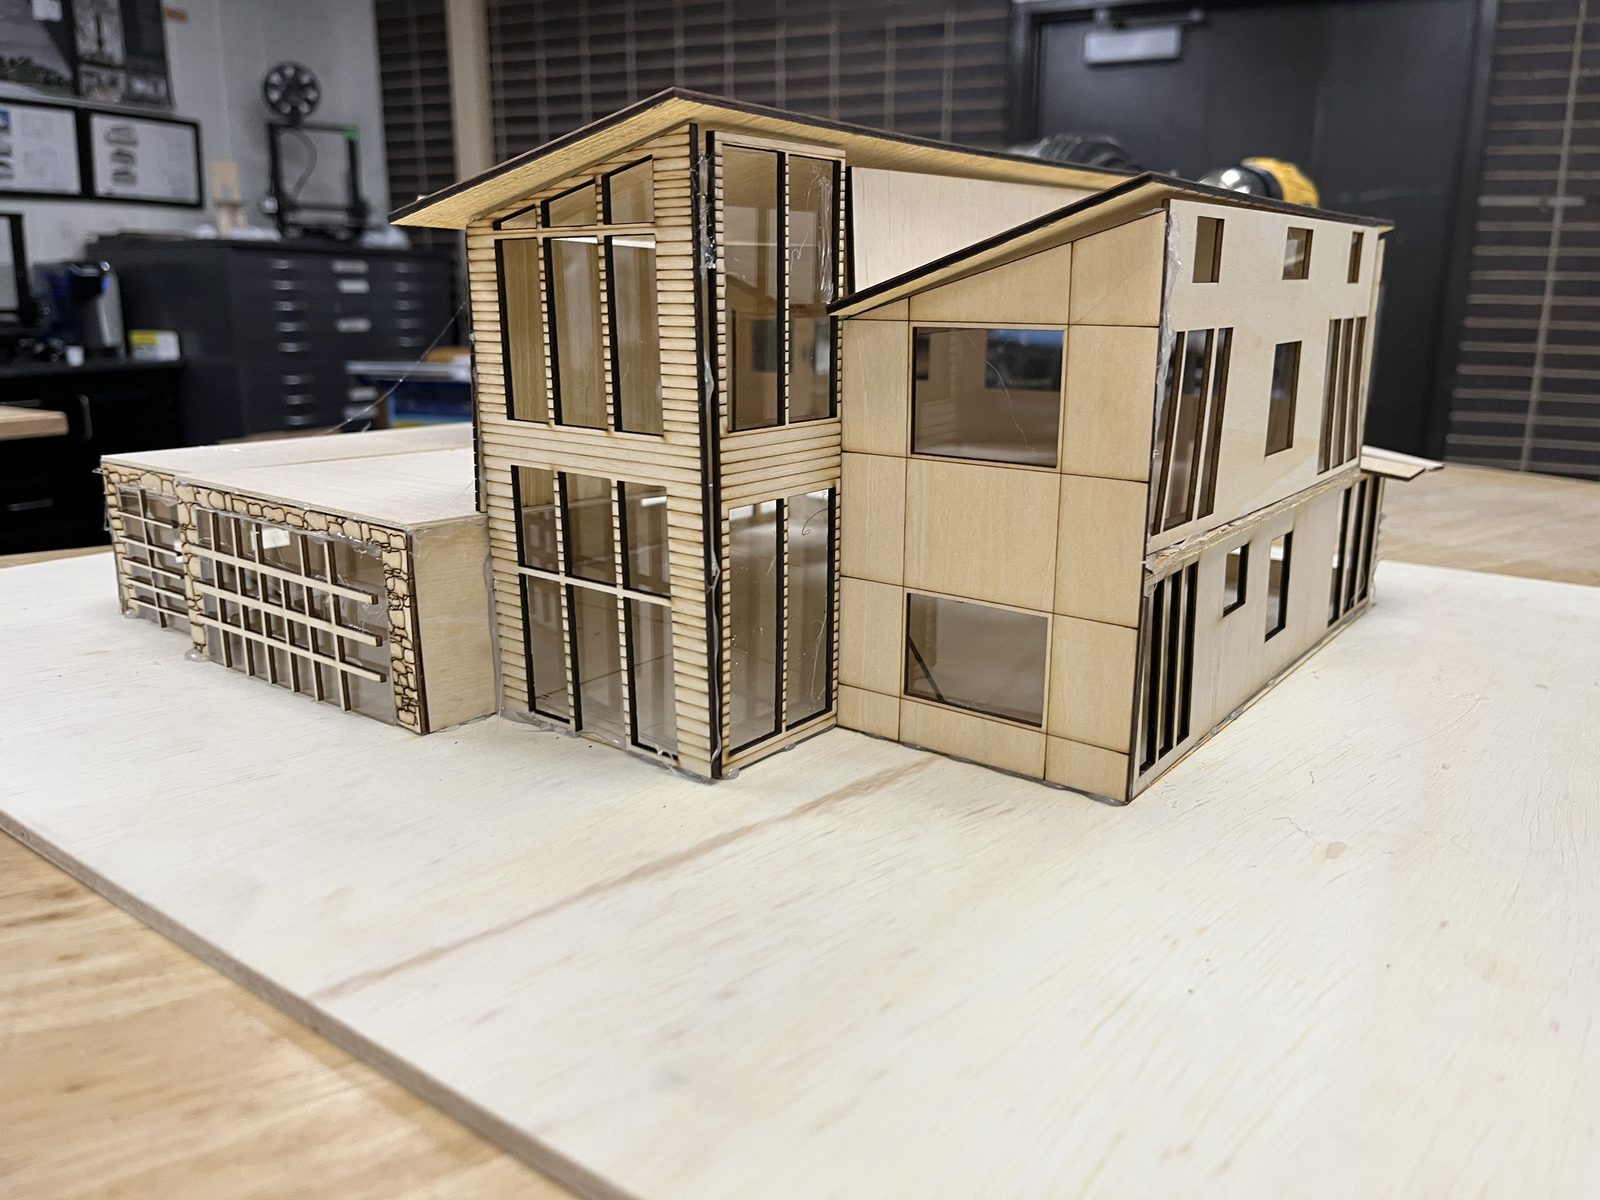
Contemporary Home
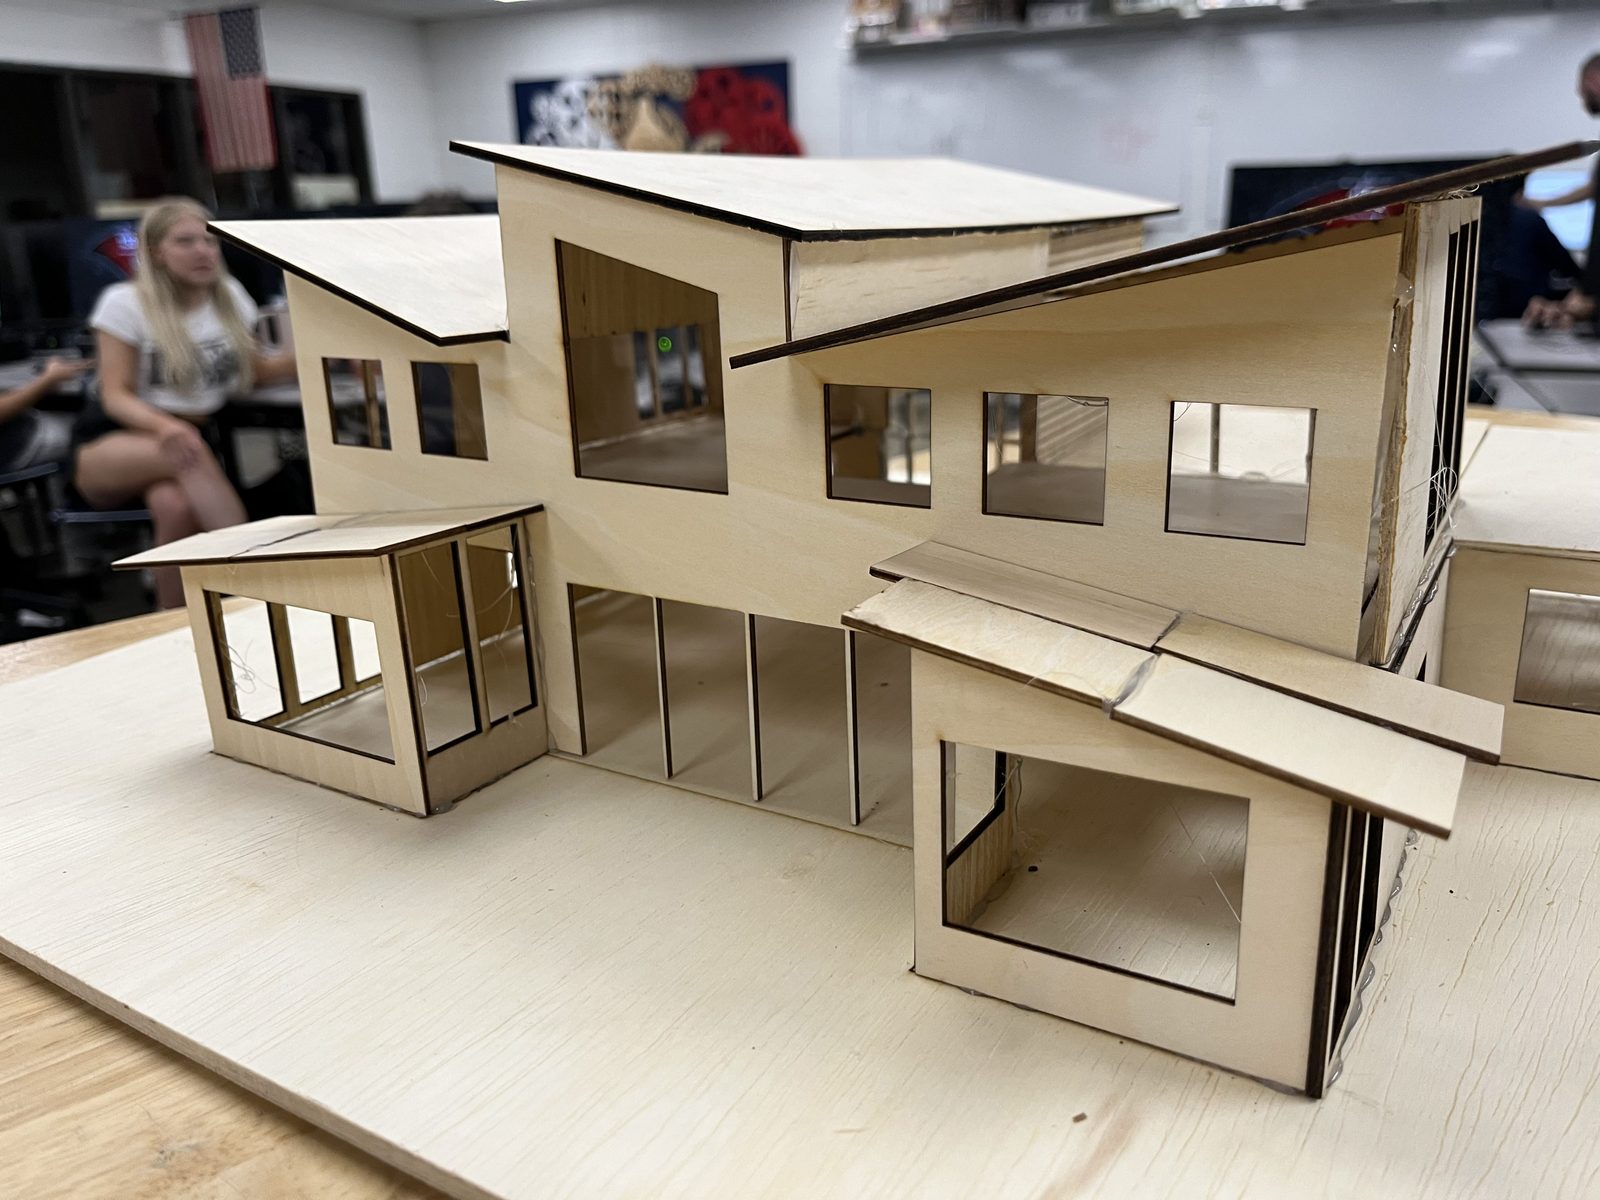
Back of Contemporary Home
Big windows and an open concept for maximum natural light.
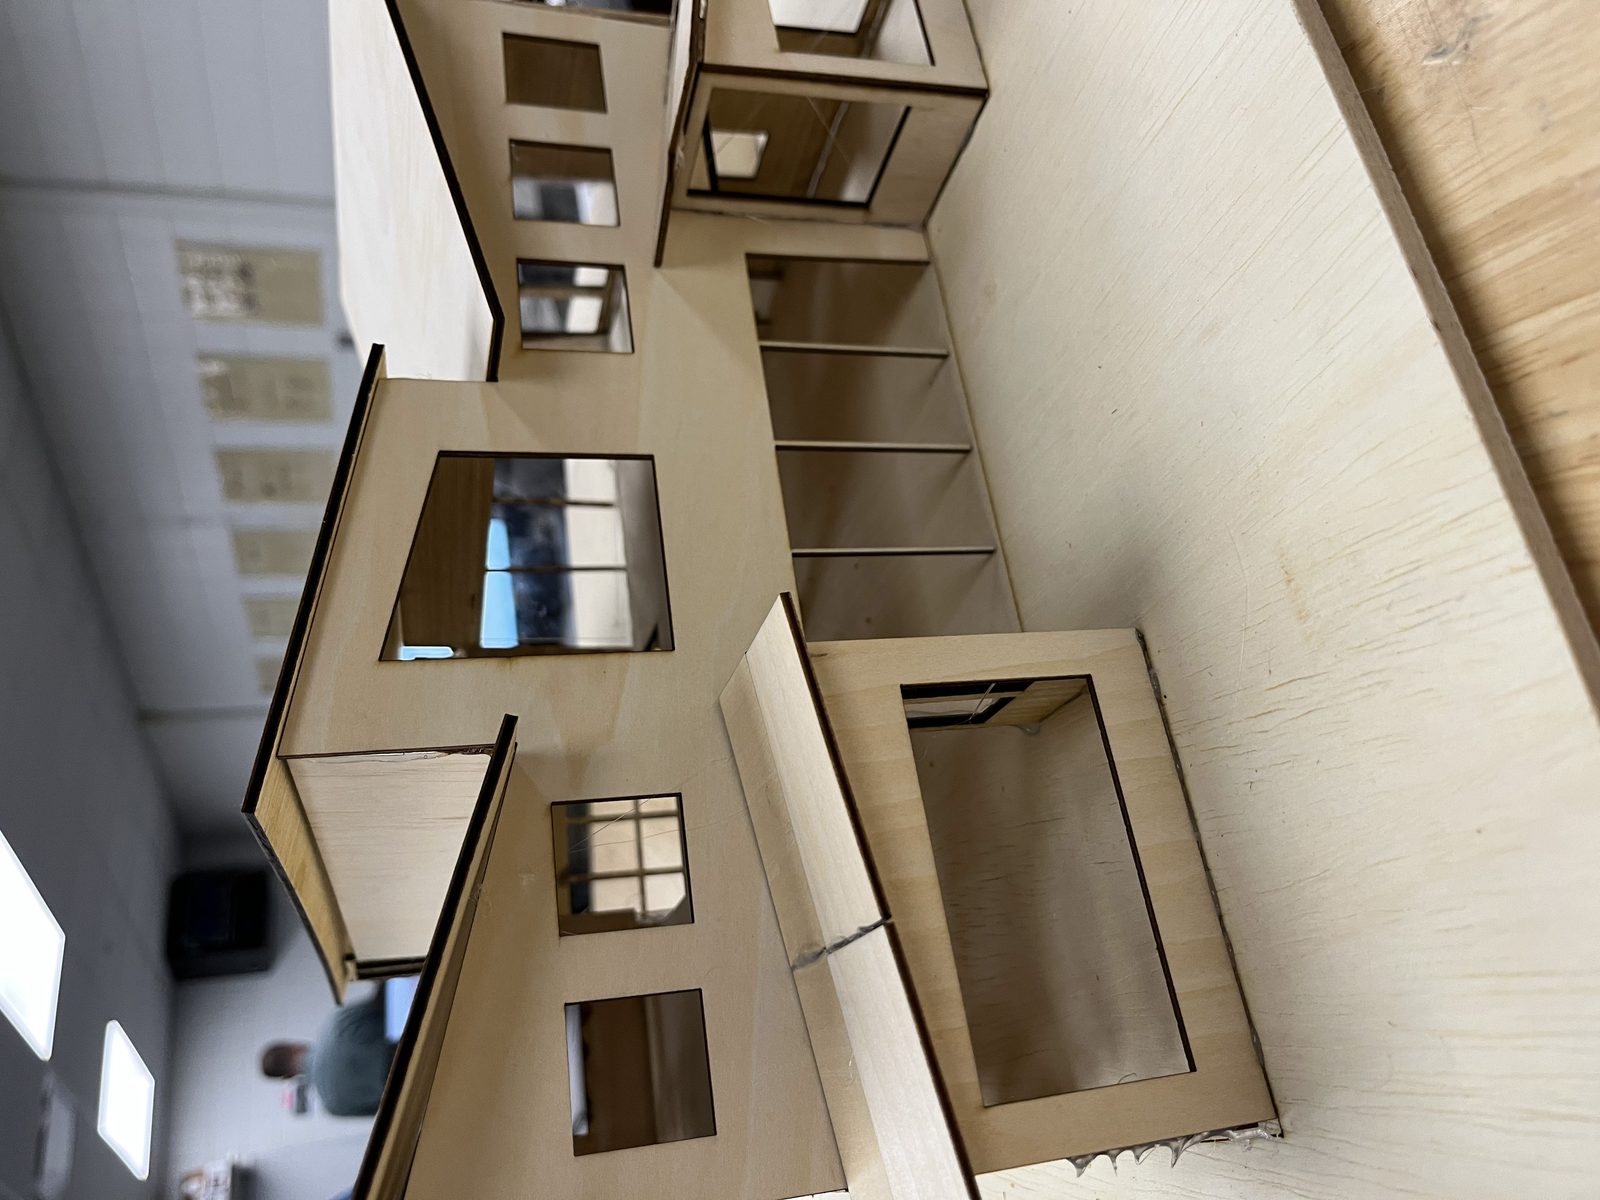
Back of Contemporary Home
Big windows and an open concept for maximum natural light.
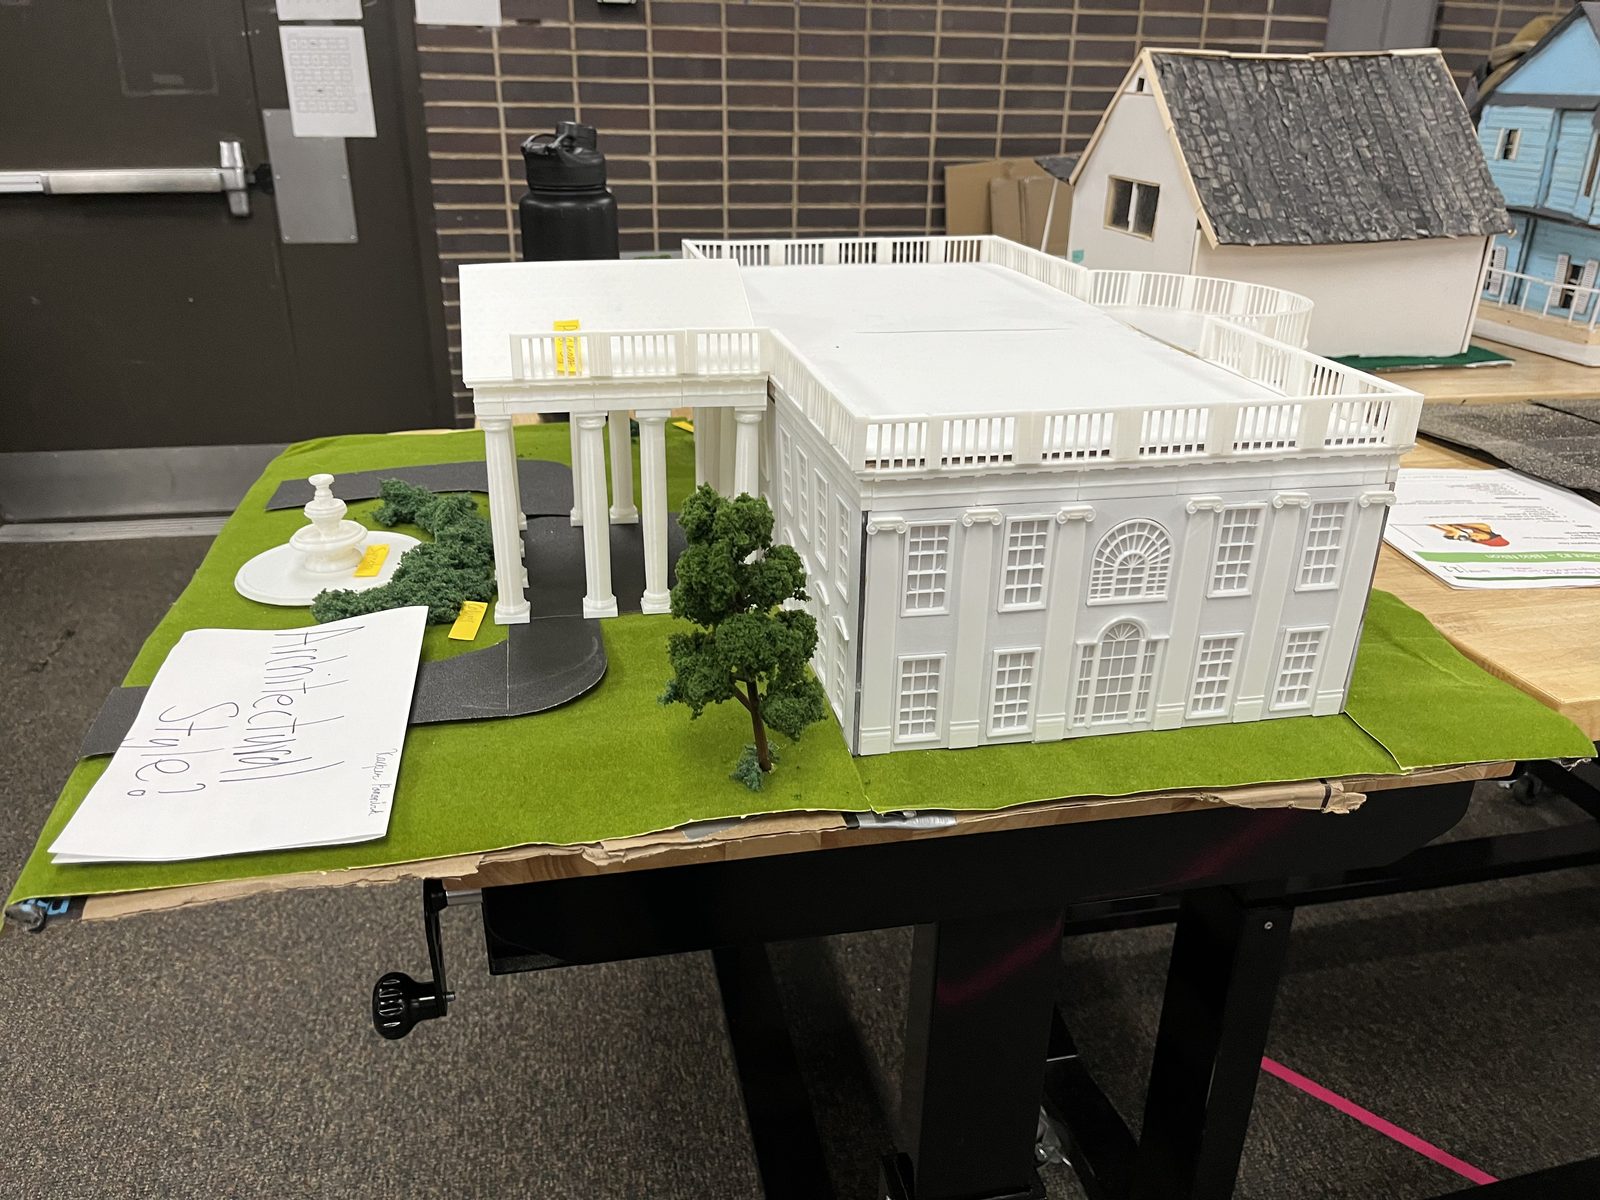
Side of The White House
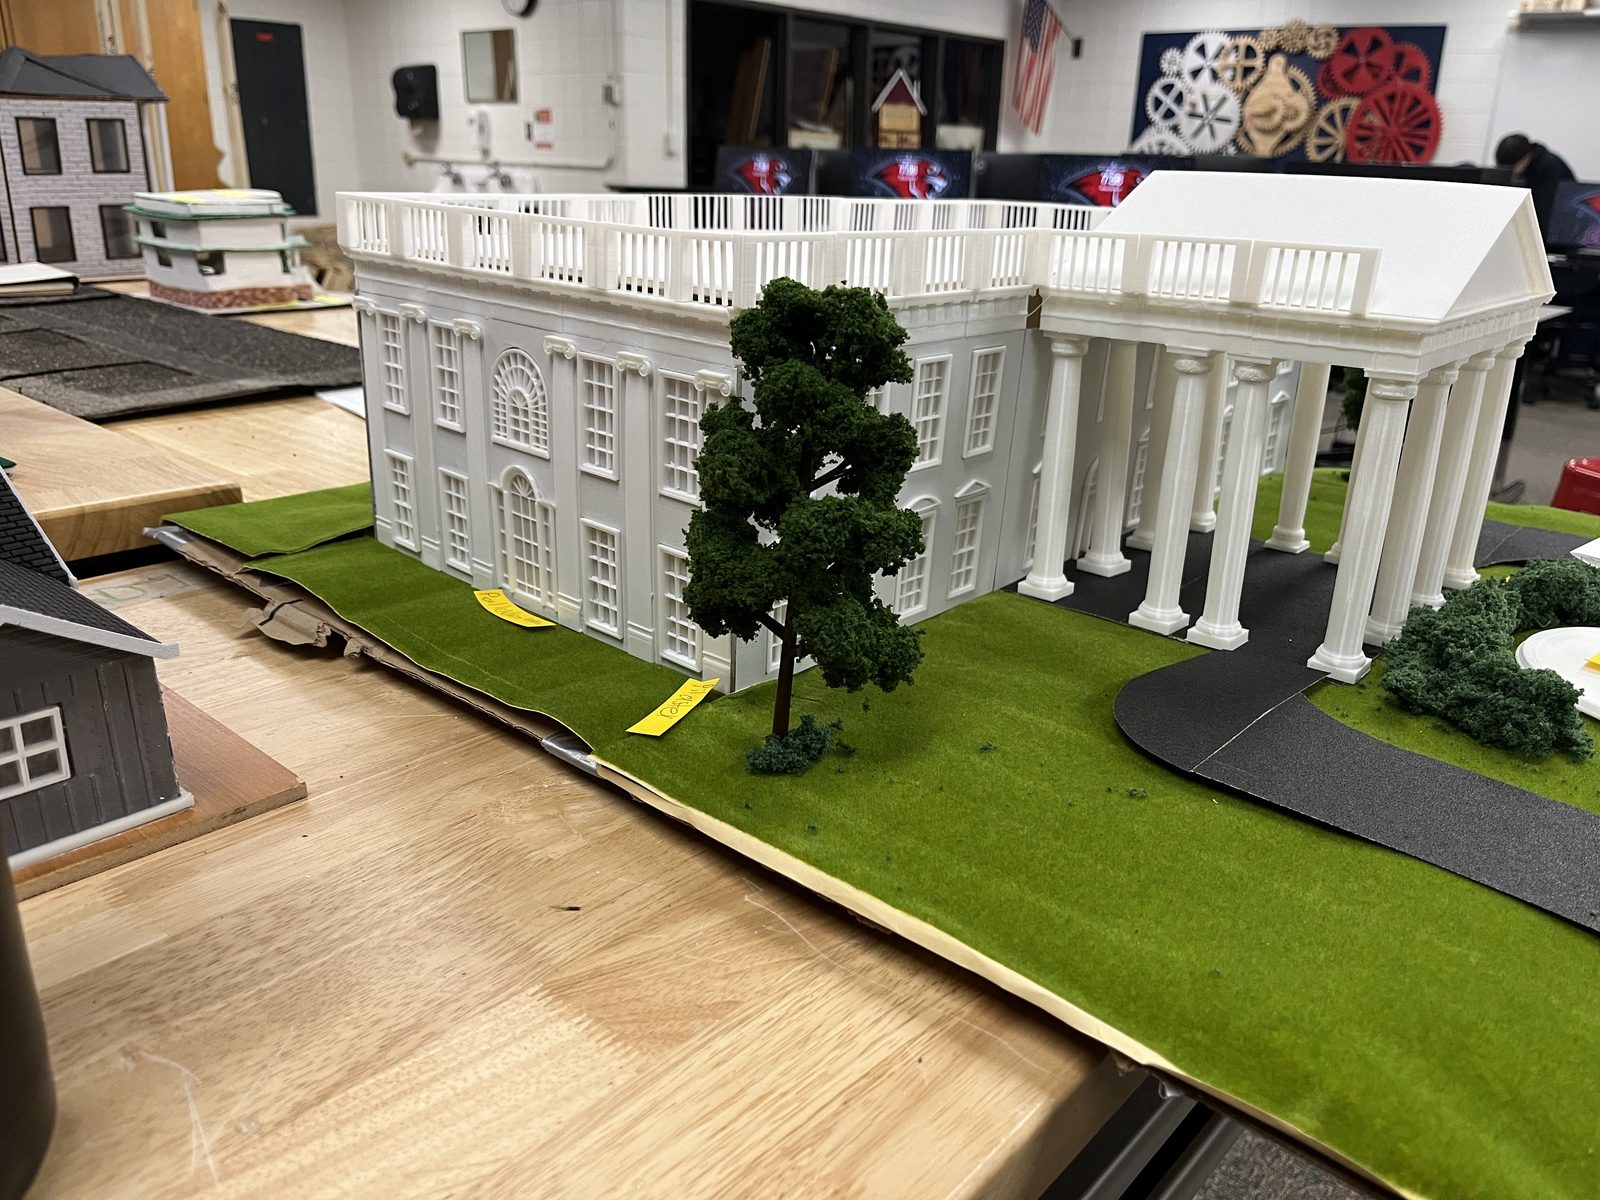
Side of The White House
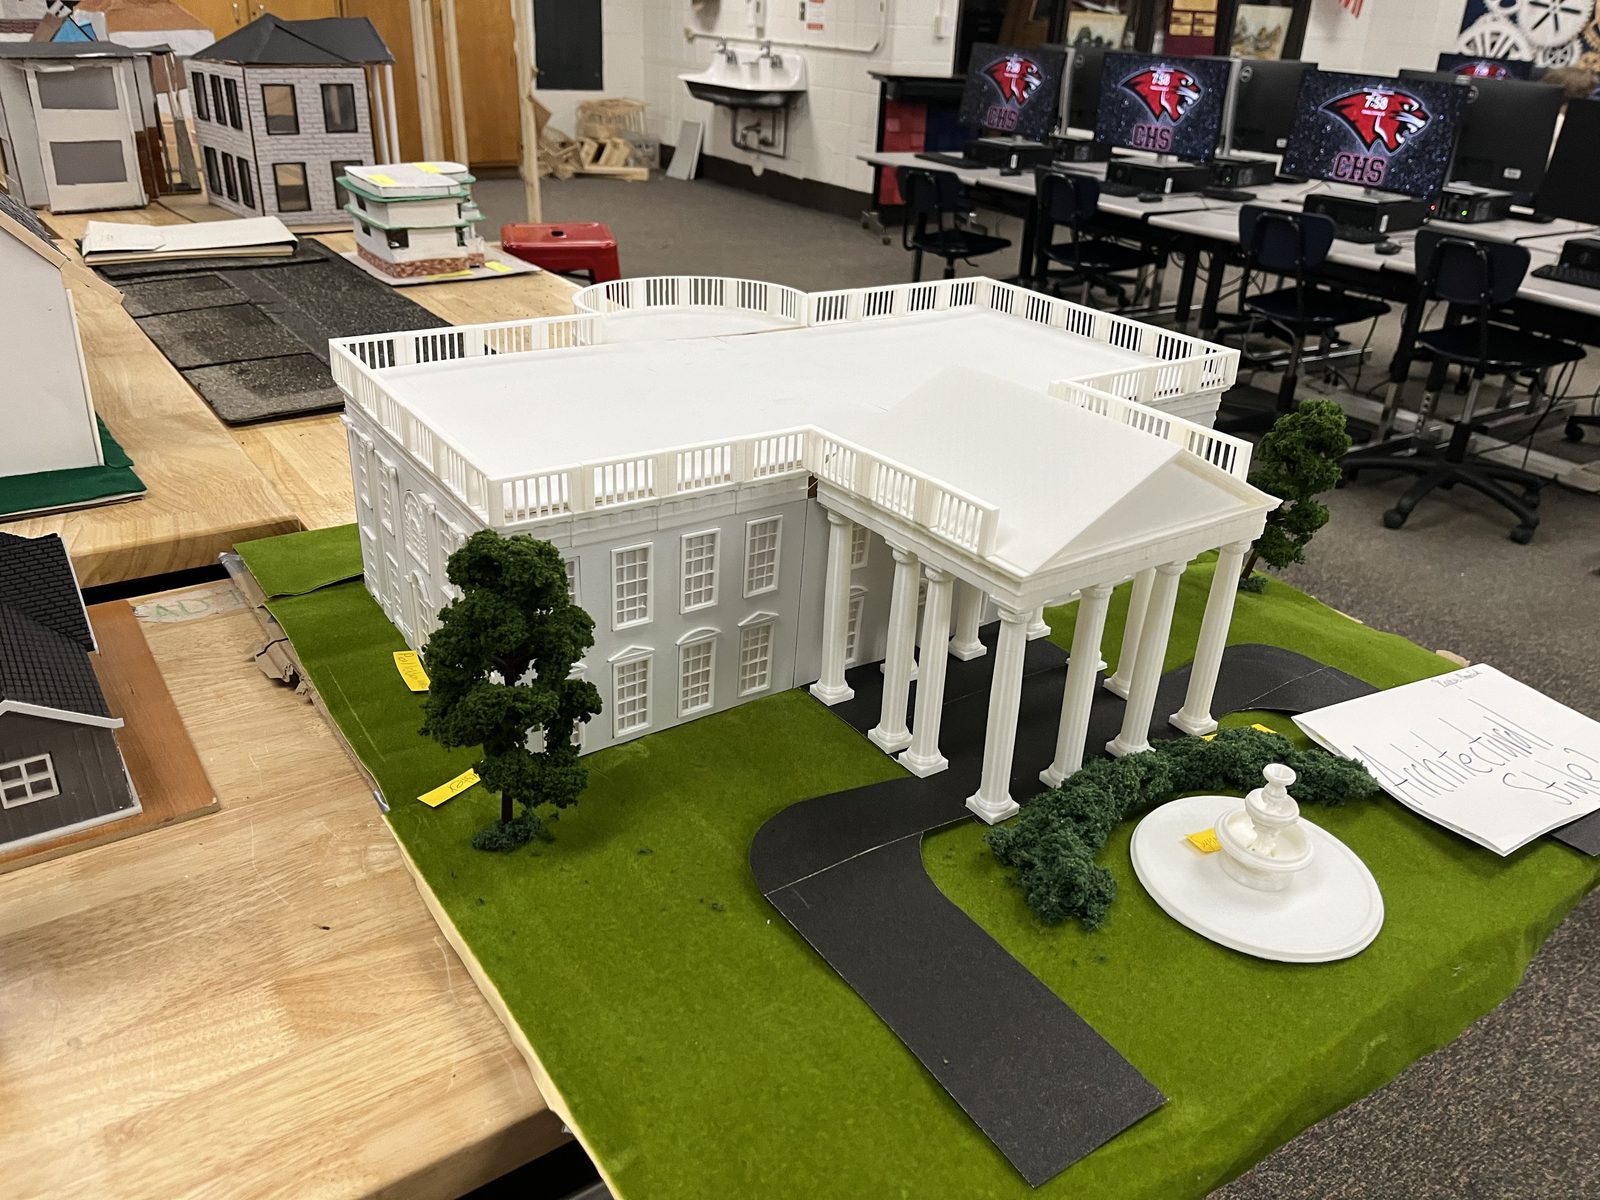
Overhead view of The White House
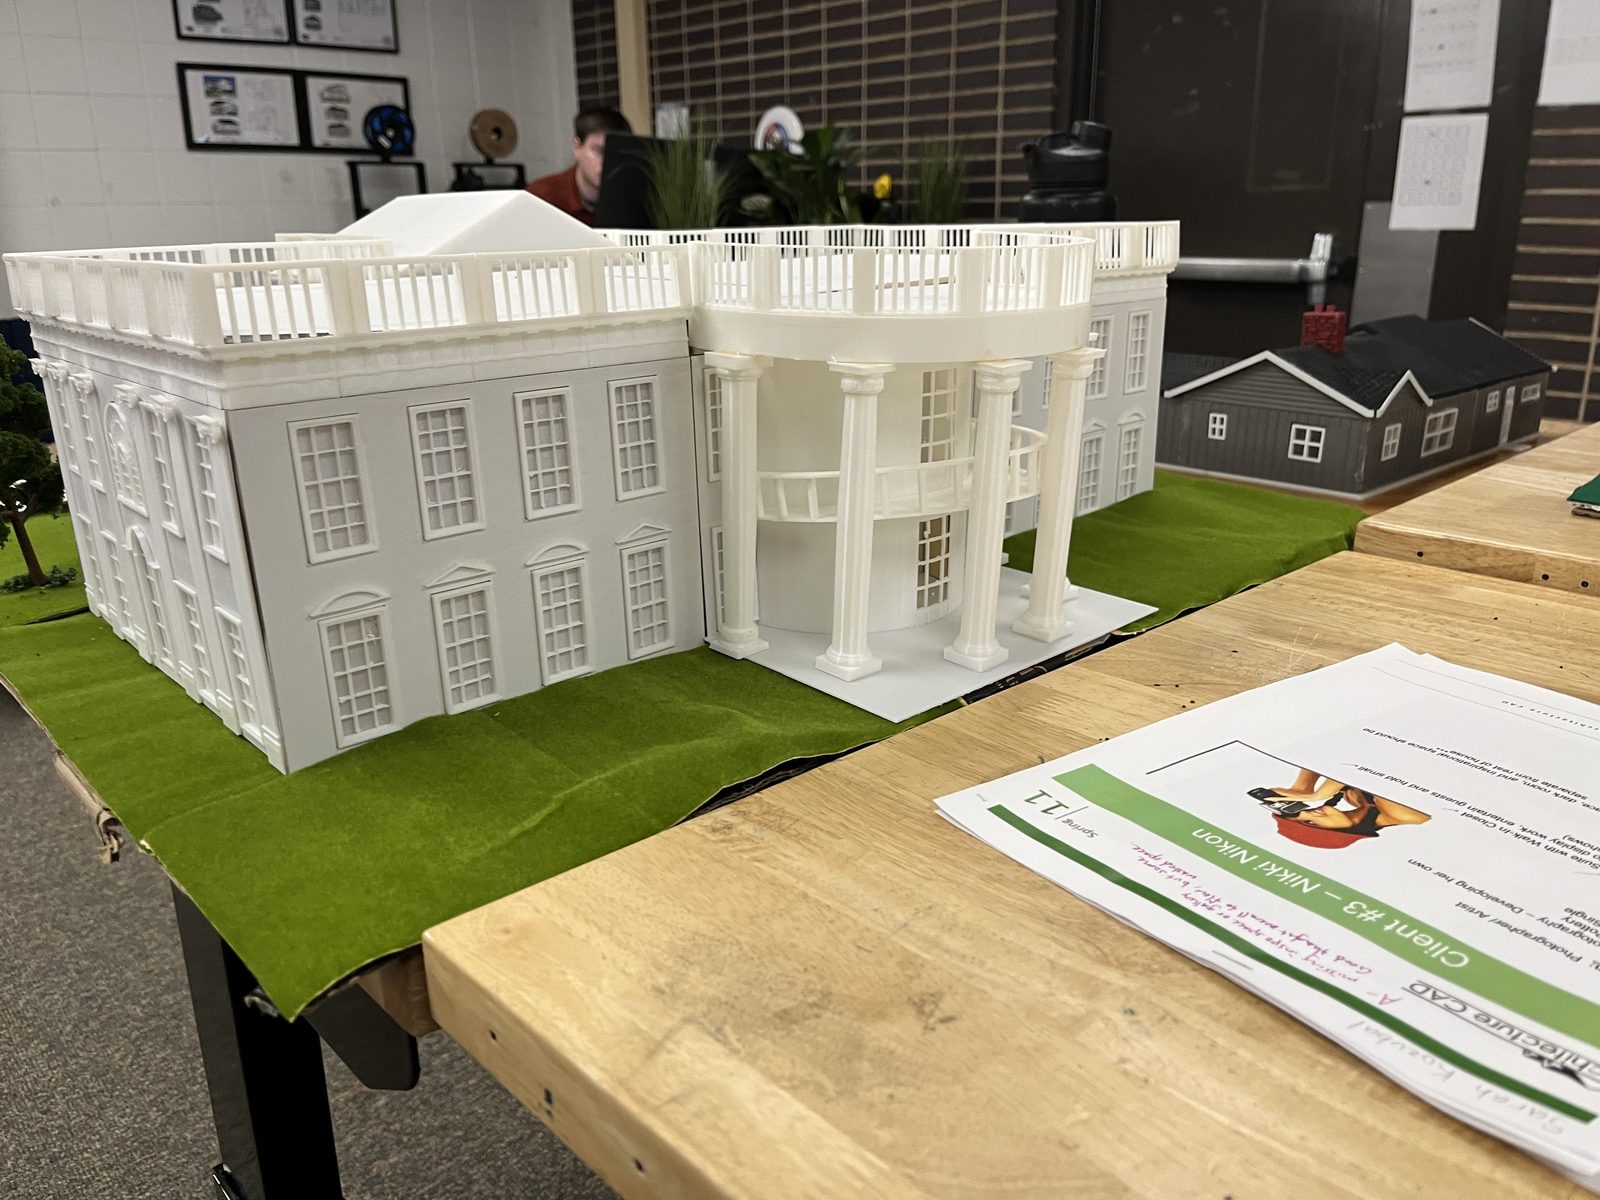
Back view of The White House
Reflection
Working with scale models has been an eye-opening and rewarding experience. It strengthened my imagination and taught me how to work more efficiently by leveraging the tools and software available to me — a motto that captures this mindset is "work smarter, not harder."
Although I don't plan to pursue architecture professionally, this project taught me invaluable skills that apply across disciplines — especially in engineering and design. From testing physical prototypes and mastering technical software to iterating through the design process under real deadlines, I gained hands-on experience in problem solving, creativity, and precision.
Creating scale models wasn't just technical — it was also fun. It gave me a deeper appreciation for detail, aesthetics, and how small decisions can have a big impact on a design. This process has shaped how I think as a builder, a thinker, and a future engineer.