Project overview
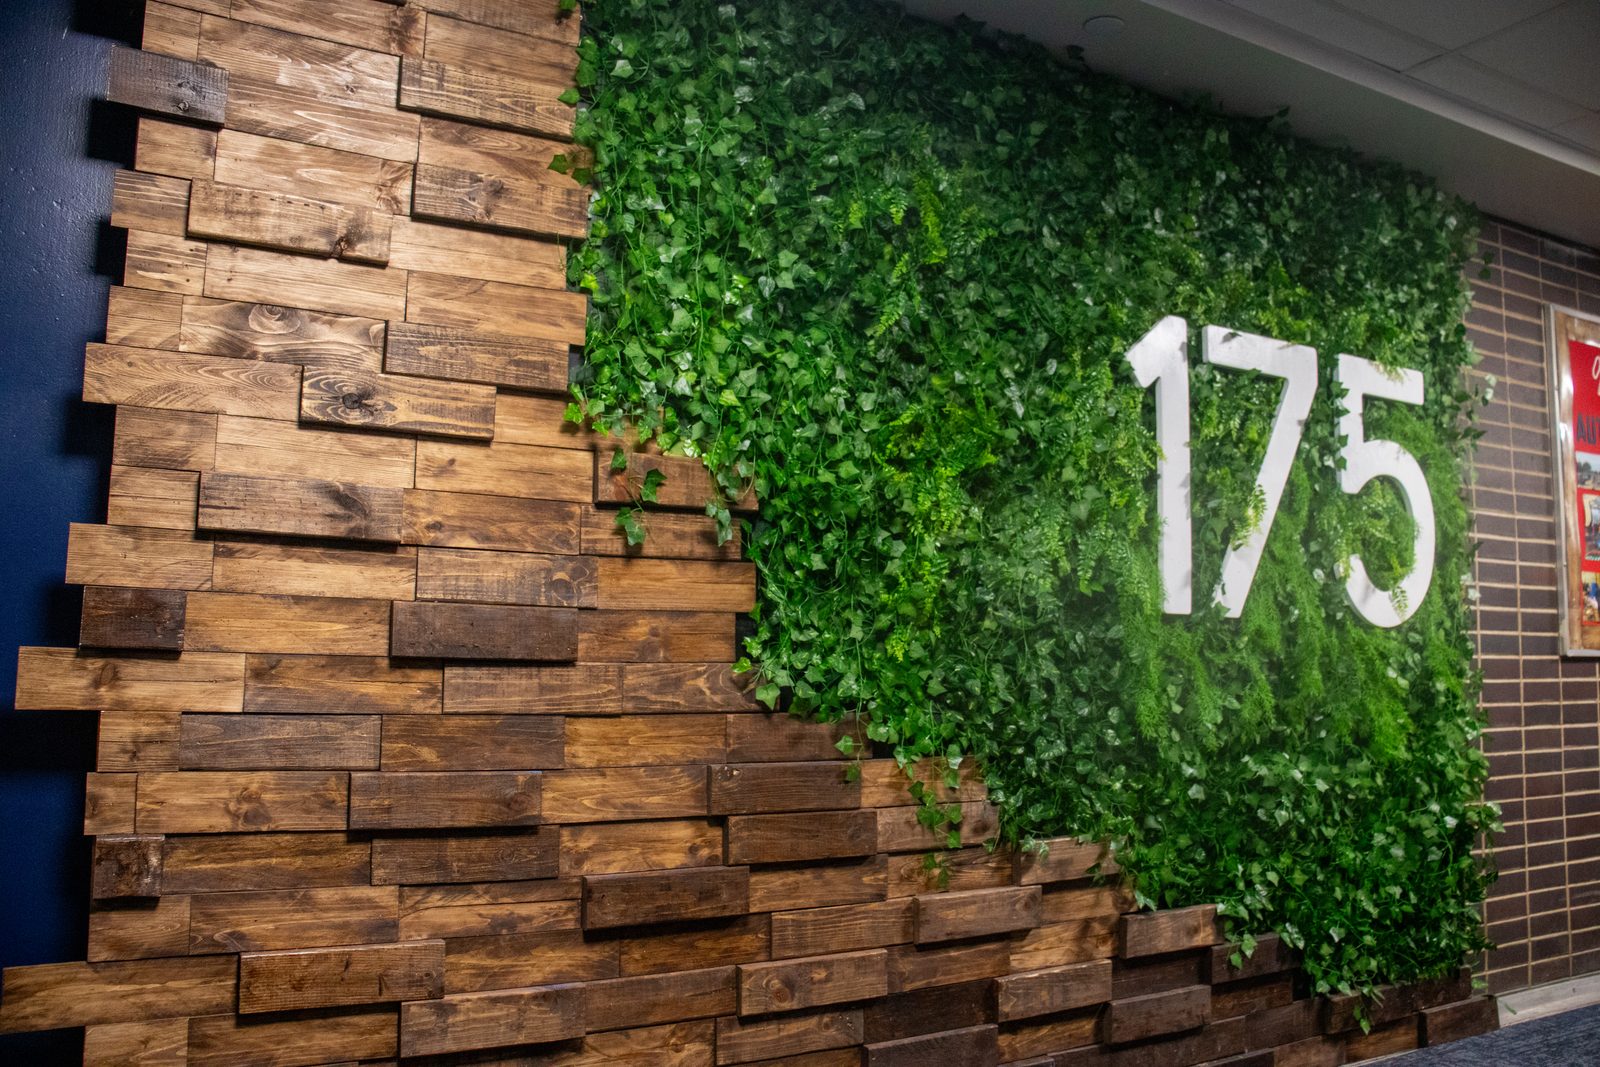
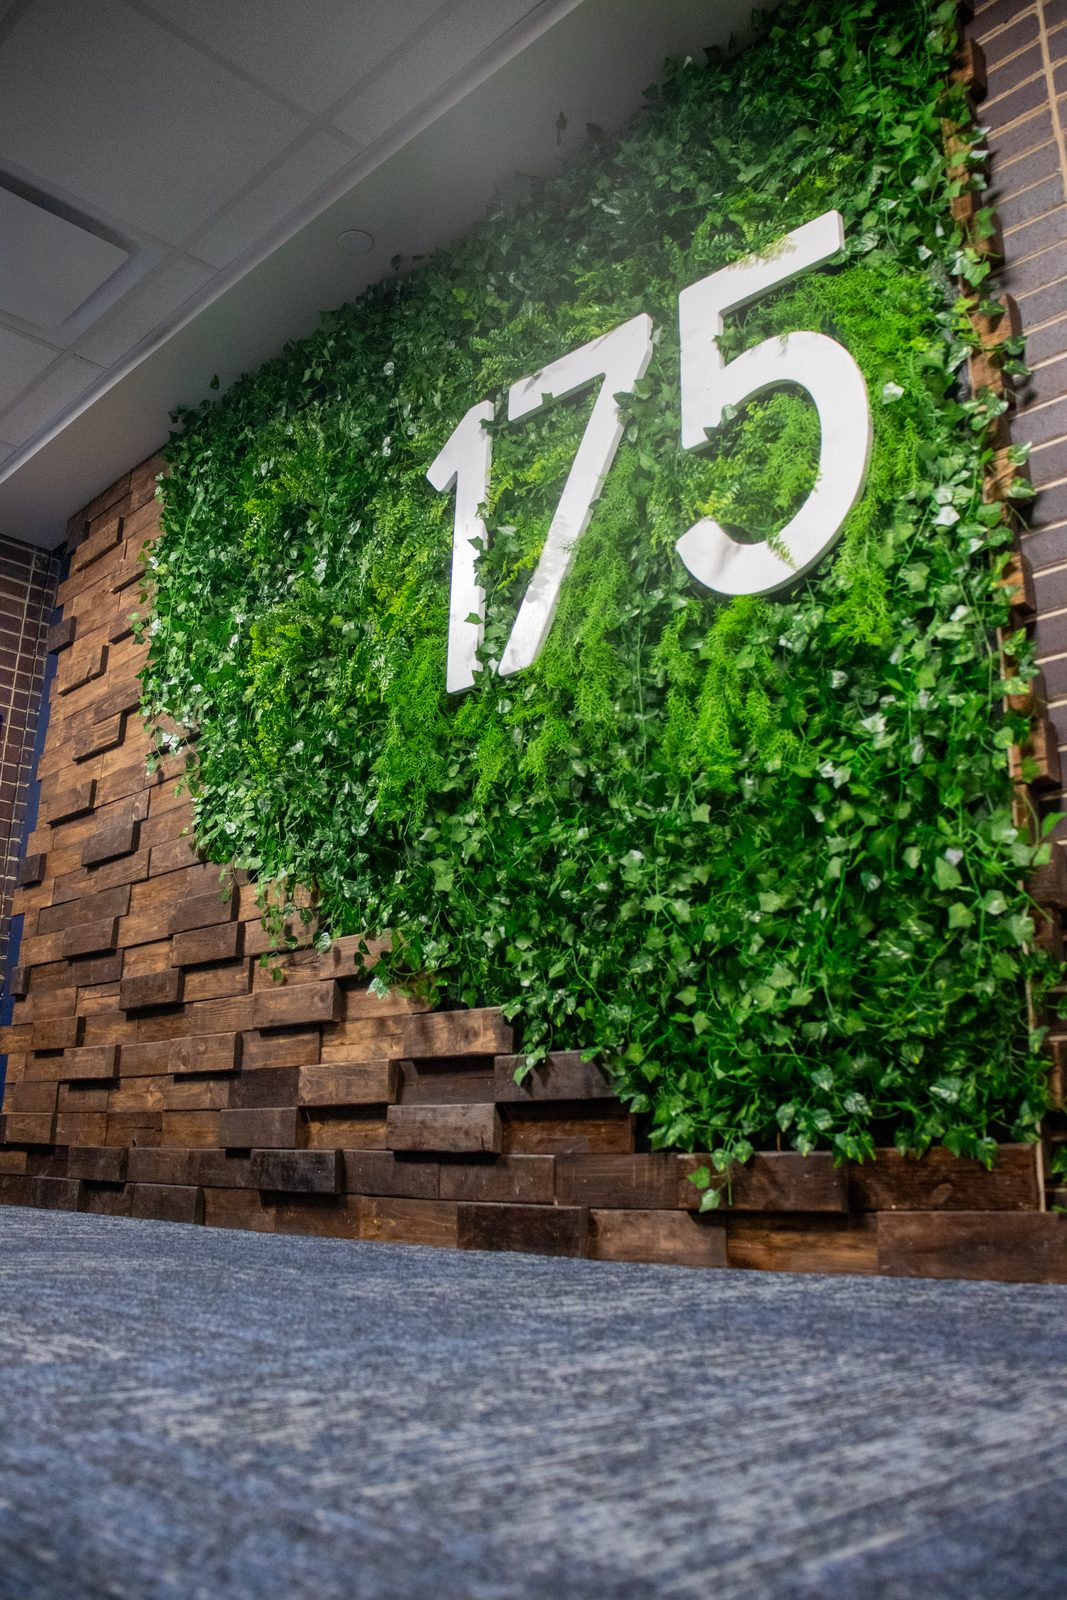
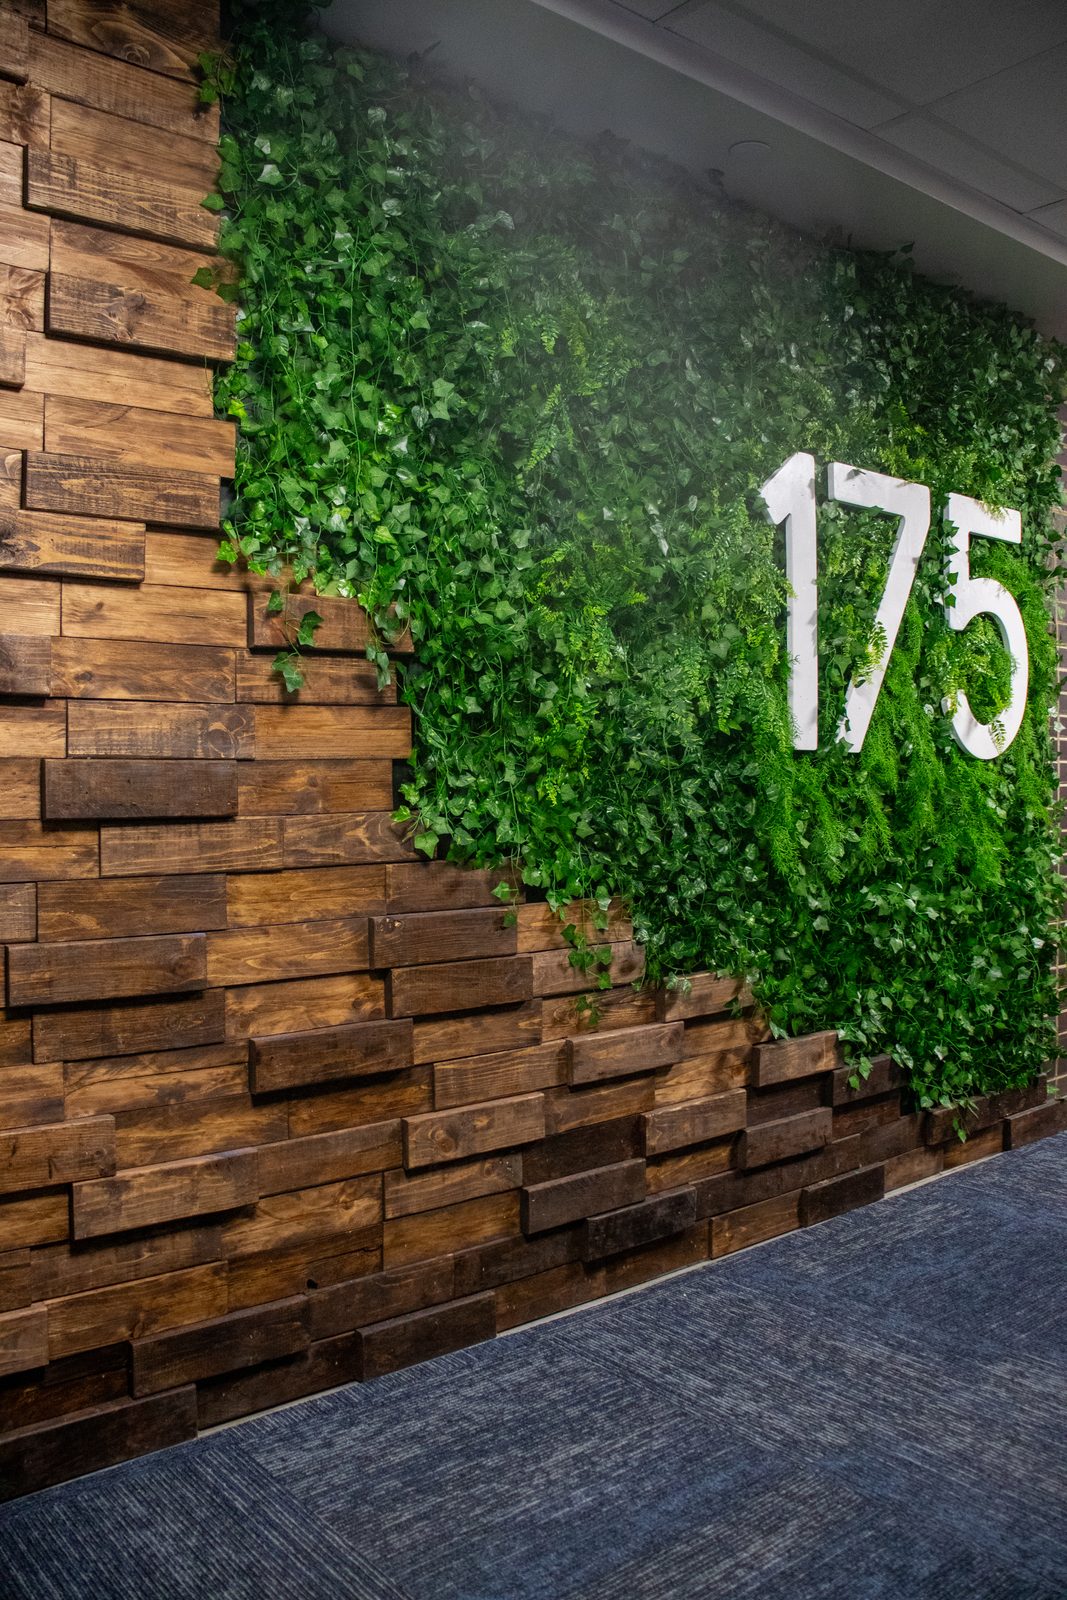
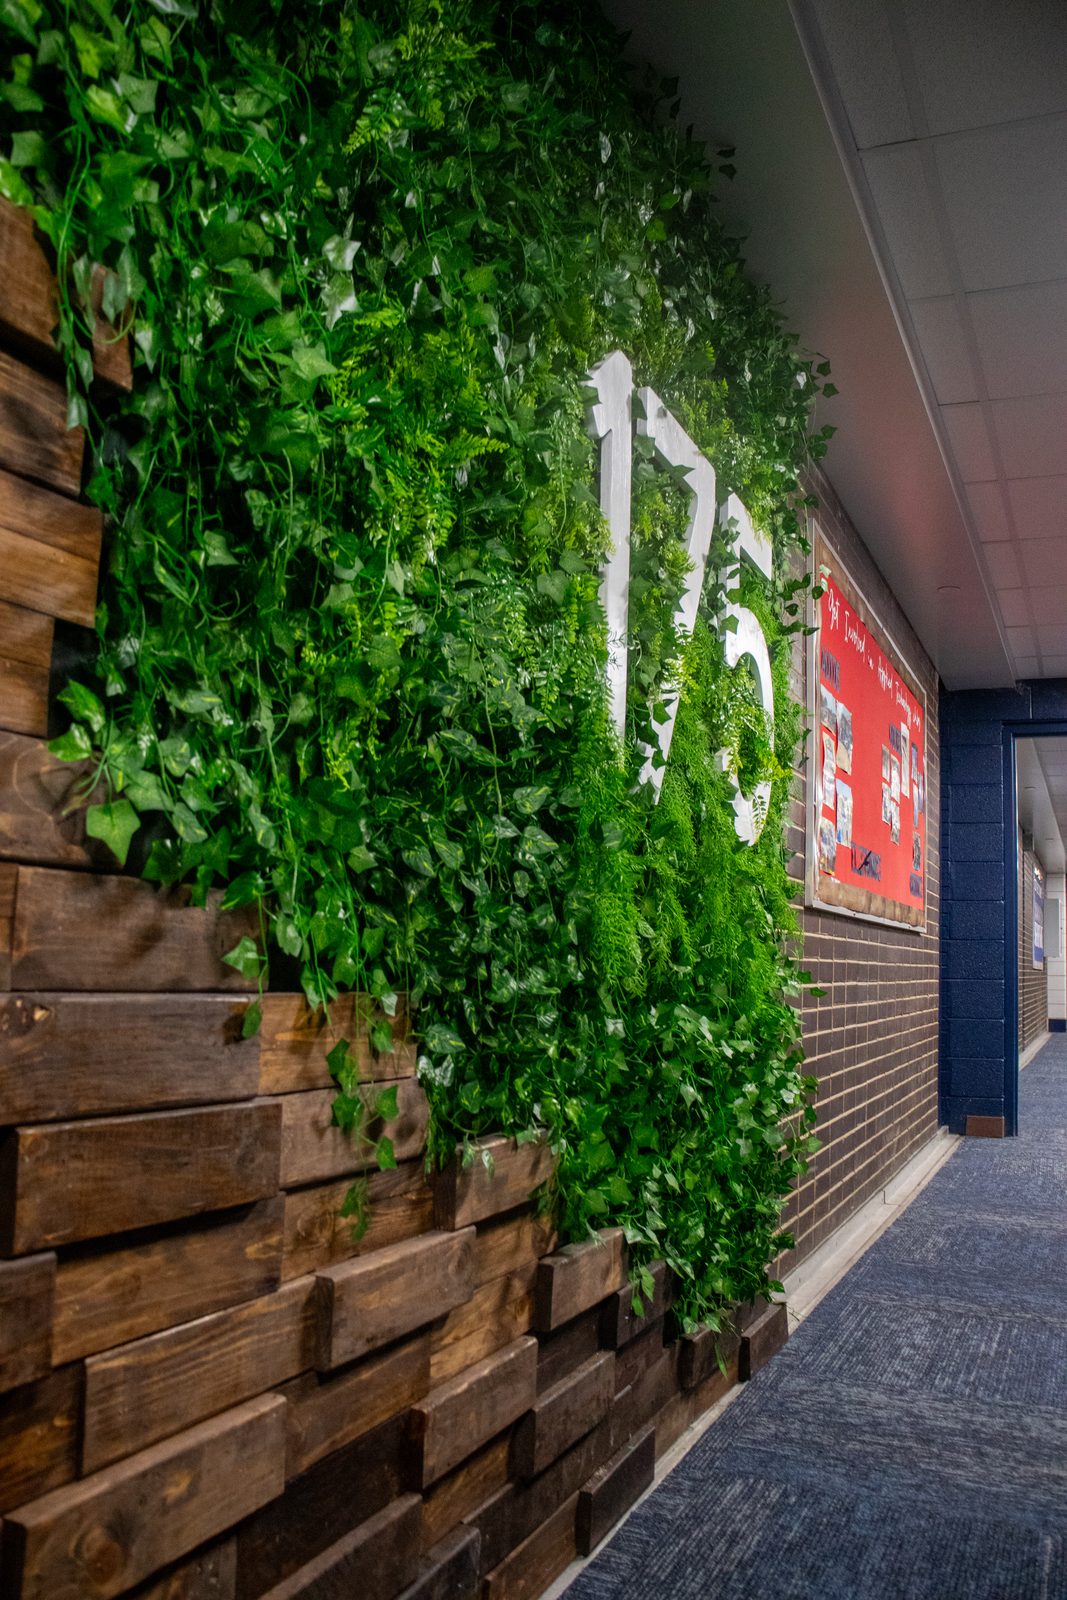
The Green Wall was designed as a biophilic architectural element to bring natural beauty, improved air quality (symbolically, in this case), and a calming presence into indoor or semi-enclosed spaces. While the project used artificial leaves for practical reasons, it still aimed to evoke the sensory and psychological benefits of greenery. The build explored material selection, modular construction, and sustainability — all while balancing aesthetics with function.
I chose to pursue this project not only as a conceptual companion to my multifunctional bench (which I built two years earlier), but also as a way to leave a lasting mark on Conant High School. It was created to commemorate Room 175 — the place where my passion for engineering truly began. That space gave me countless opportunities, and I knew I had to finish my senior year with a project that captured both creativity and gratitude.
Stages of development
Concept, sketching & material estimates
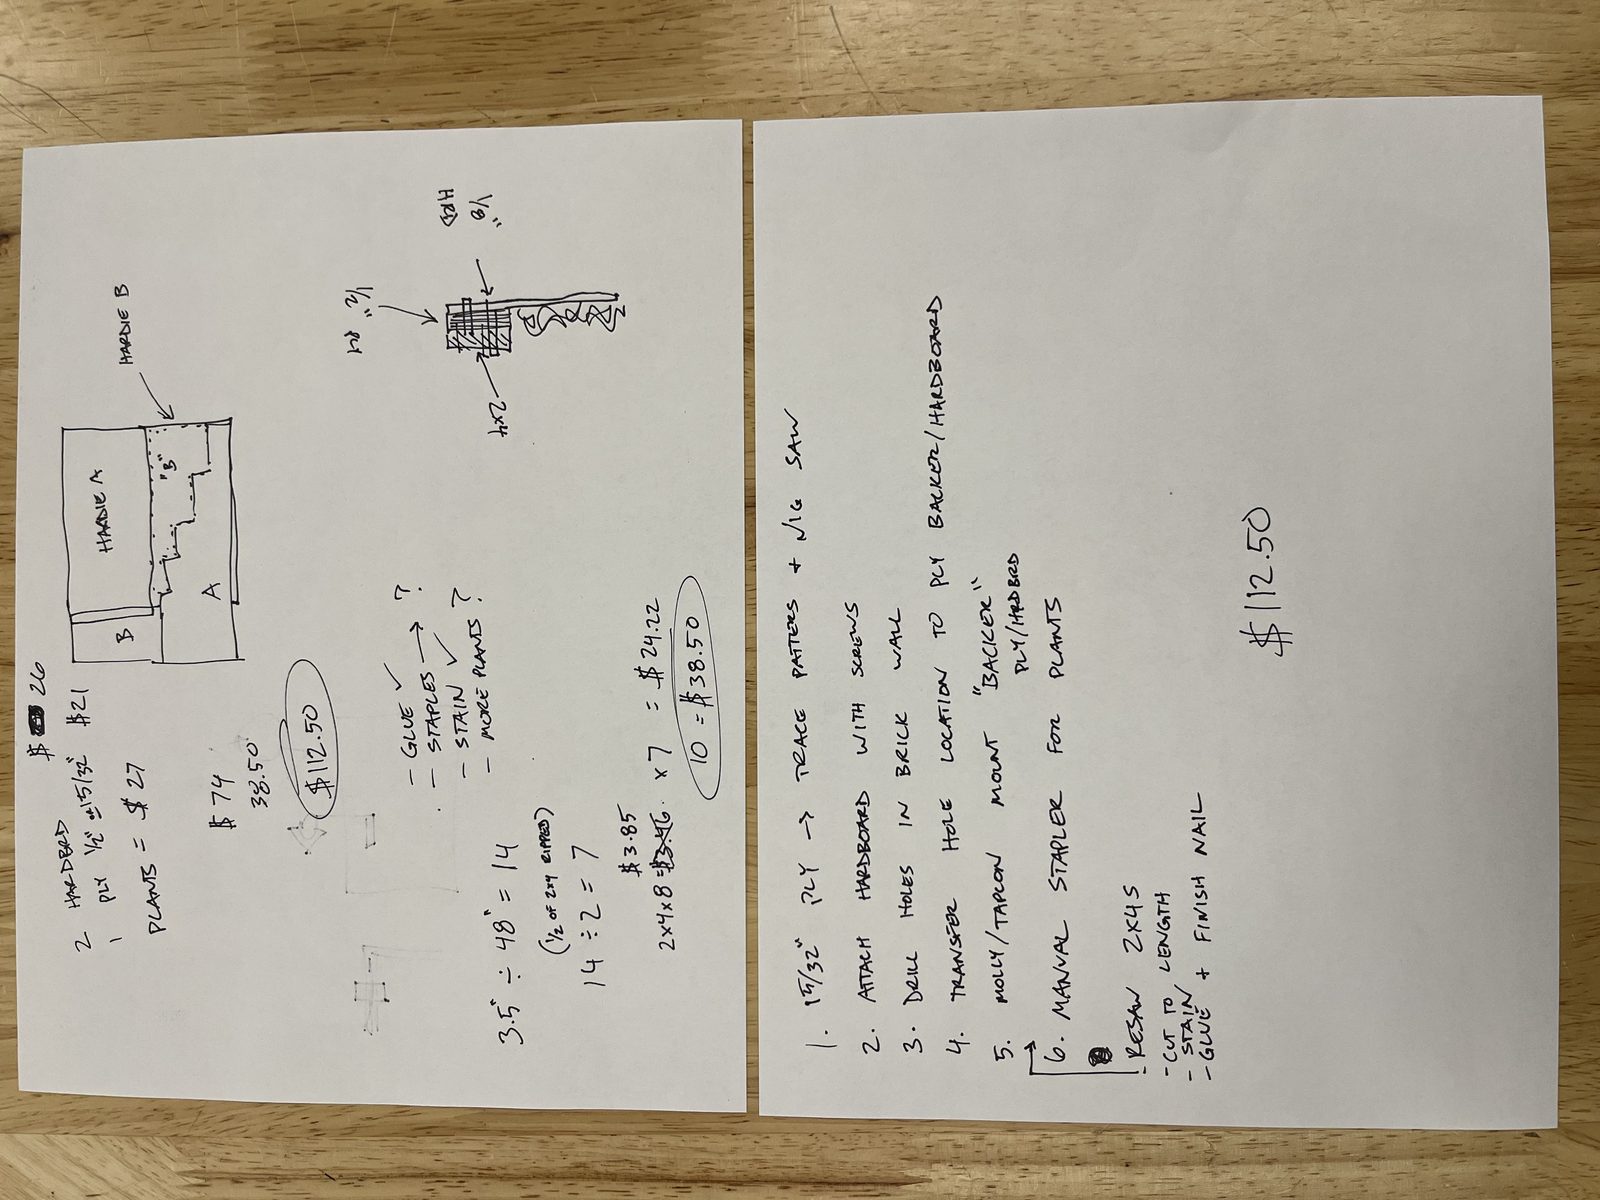
At the beginning of the project, I explored several ideas for how to embark on my mission of building a green wall. I considered incorporating a full irrigation system to support real, living plants, but I soon realized that using artificial greenery would be the more practical and sustainable choice for my environment and timeframe. Using 2x4s, plywood, and various hardware components, I developed a clean and sturdy framework that brought the entire concept to life. The end result was a visually striking, low-maintenance design that still delivered the lush, biophilic effect I envisioned.
Connecting 2x4's to brick wall
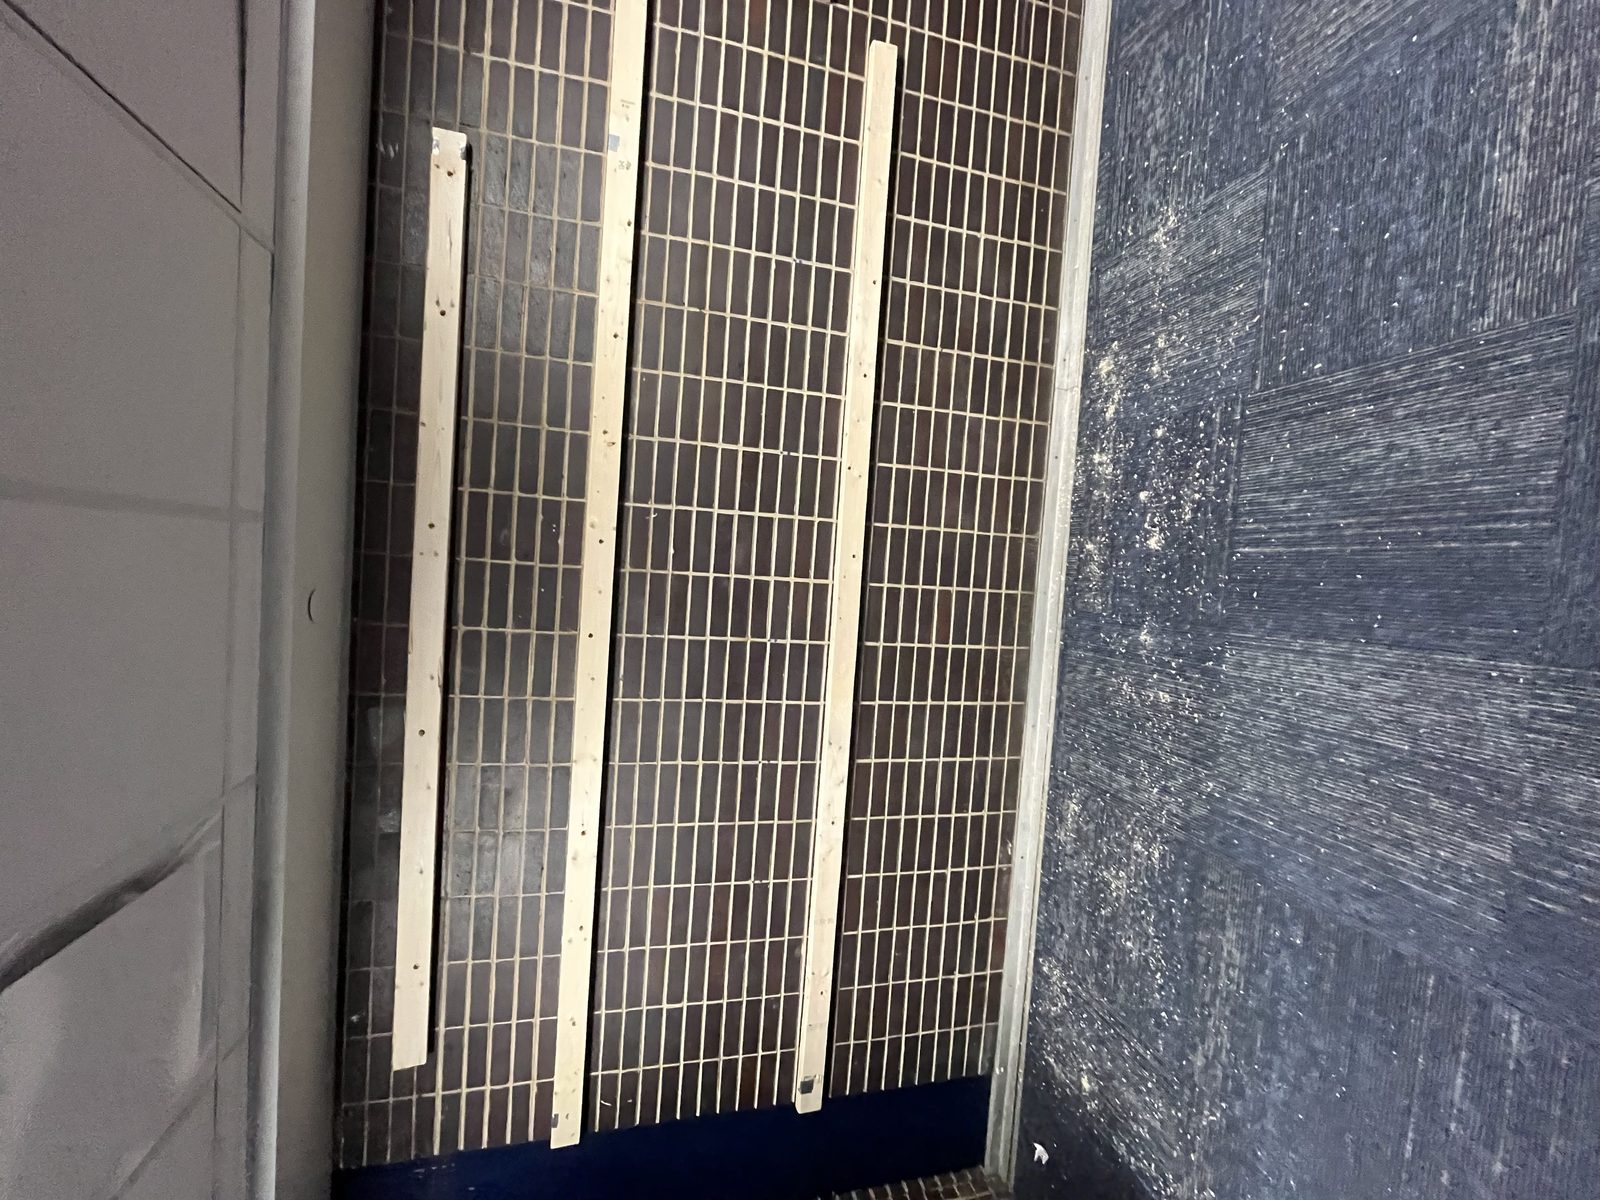
To mount the 2x4s, I took advantage of existing pre-drilled holes with molly anchors already in place. Before drilling into the wood, I applied a long strip of painter's tape across the wall, marked where the screws should go, then attached that tape to the back of the 2x4s and marked each hole position. This ensured the screw holes would perfectly align with the wall anchors during installation, making the process clean, precise, and repeatable.
Painting plywood
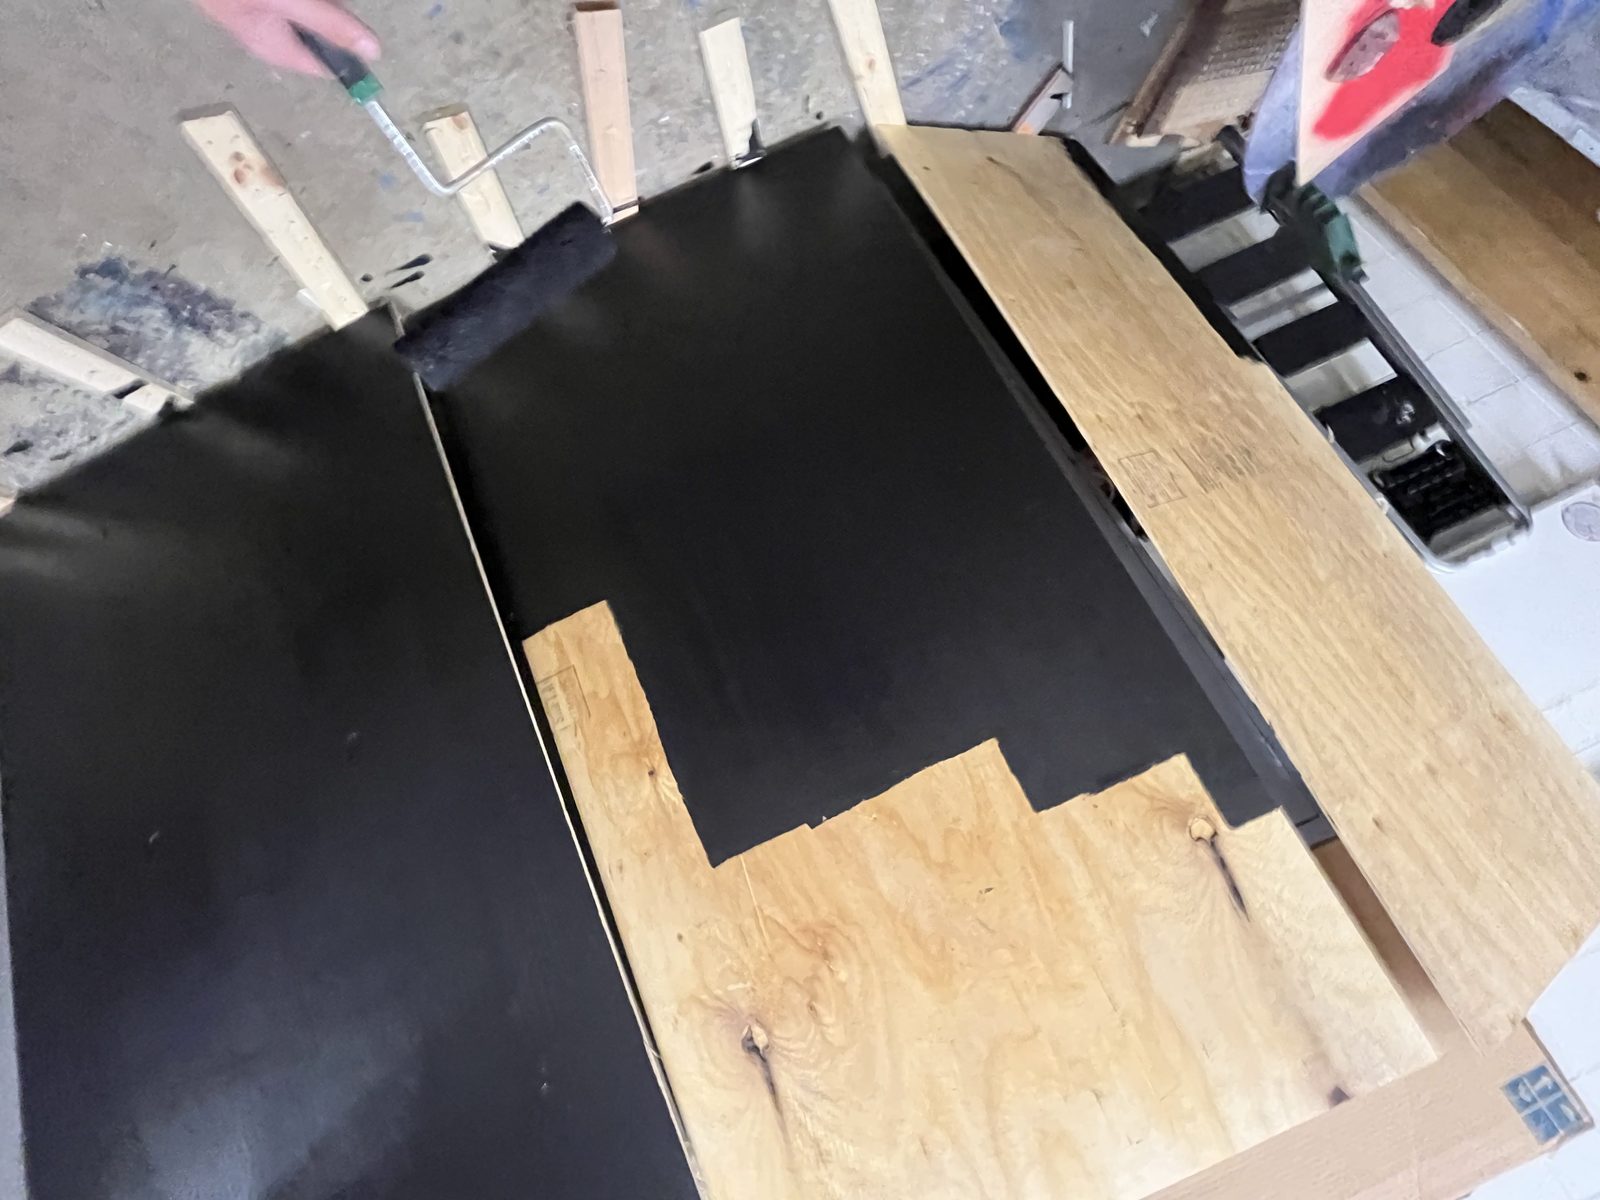
I began by marking the boundary between the wood and the greenery, referencing my initial design sketches to ensure accuracy. Once the outline was established, I painted the background in the areas where the artificial leaves would be placed, creating contrast and depth for the final arrangement.

Attaching plywood to 2x4's
Using screws, I secured the plywood panels to the 2x4s that were already mounted to the wall.
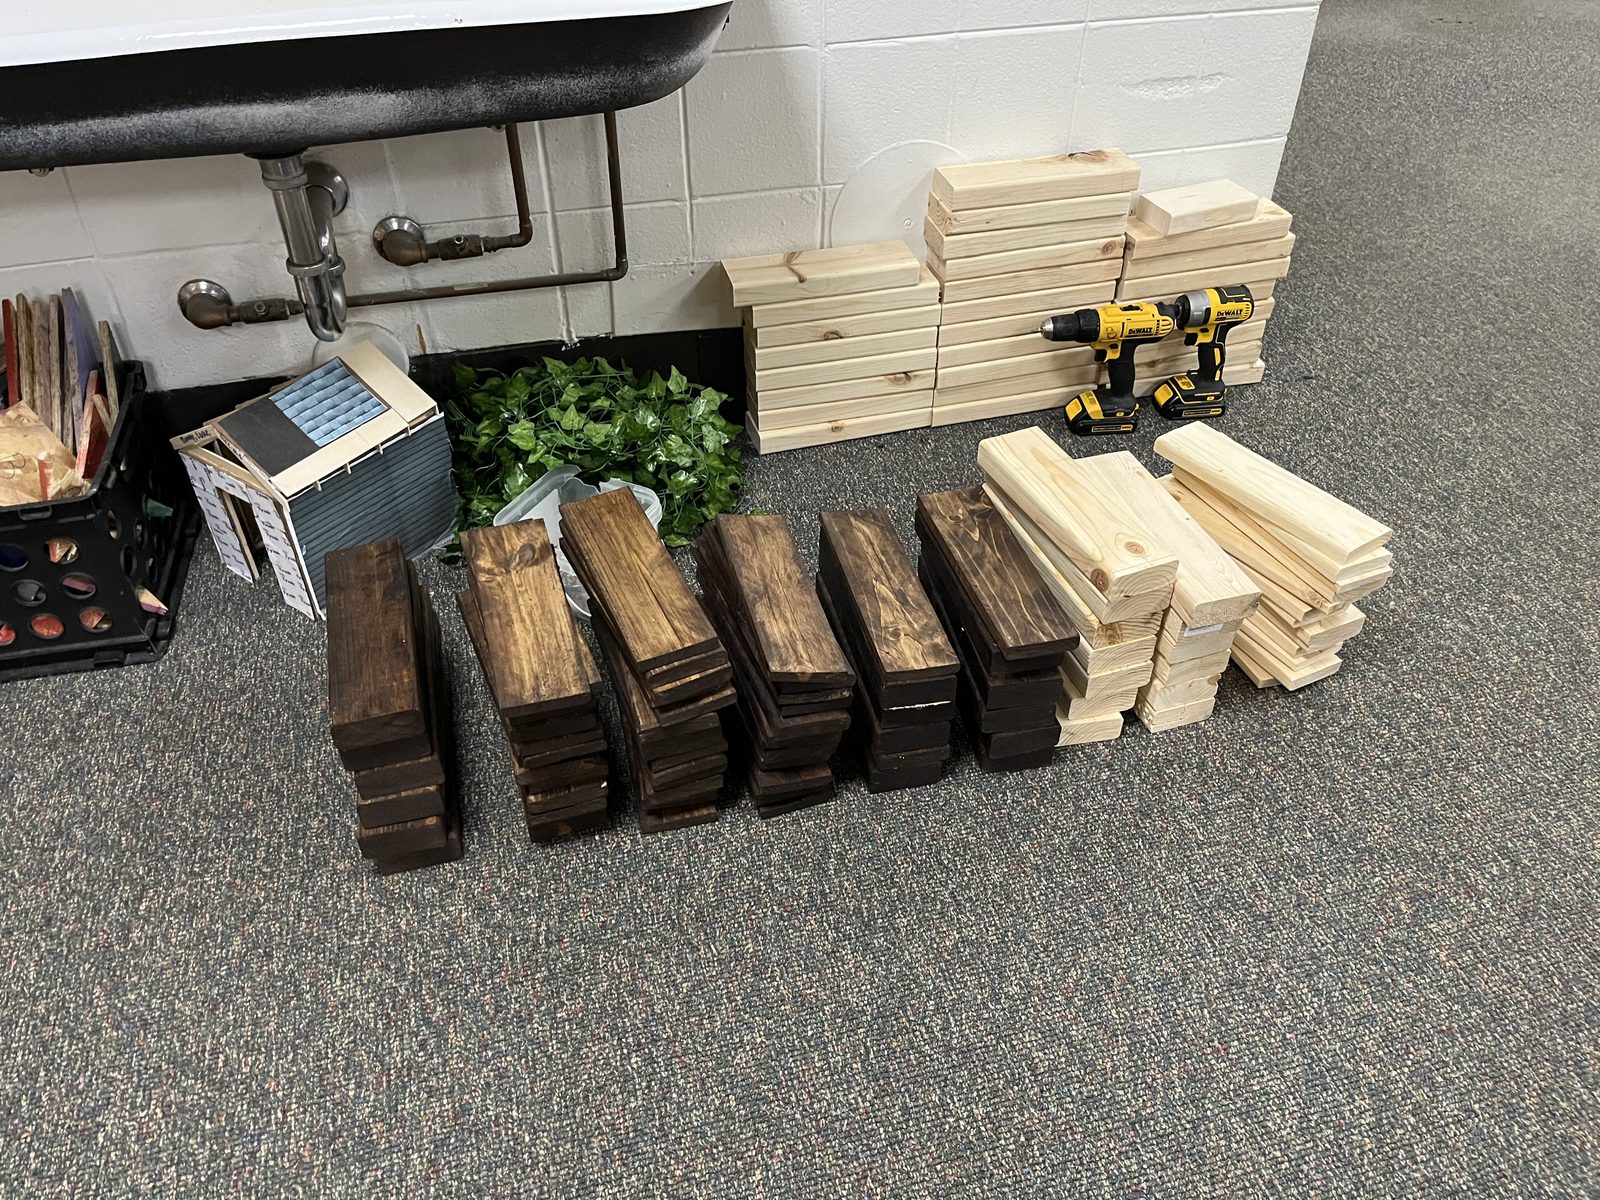
Staining & cutting 2x4's
Inspired by a reference photo, I wanted the green wall to have visual interest and dimensional depth. To achieve this, I cut several 2x4s in half using a table saw, which created subtle surface patterns on the halved pieces. Once the cuts were complete, I stained both the full and half pieces of wood to enhance their texture and contrast, giving the wall a layered, artistic look.
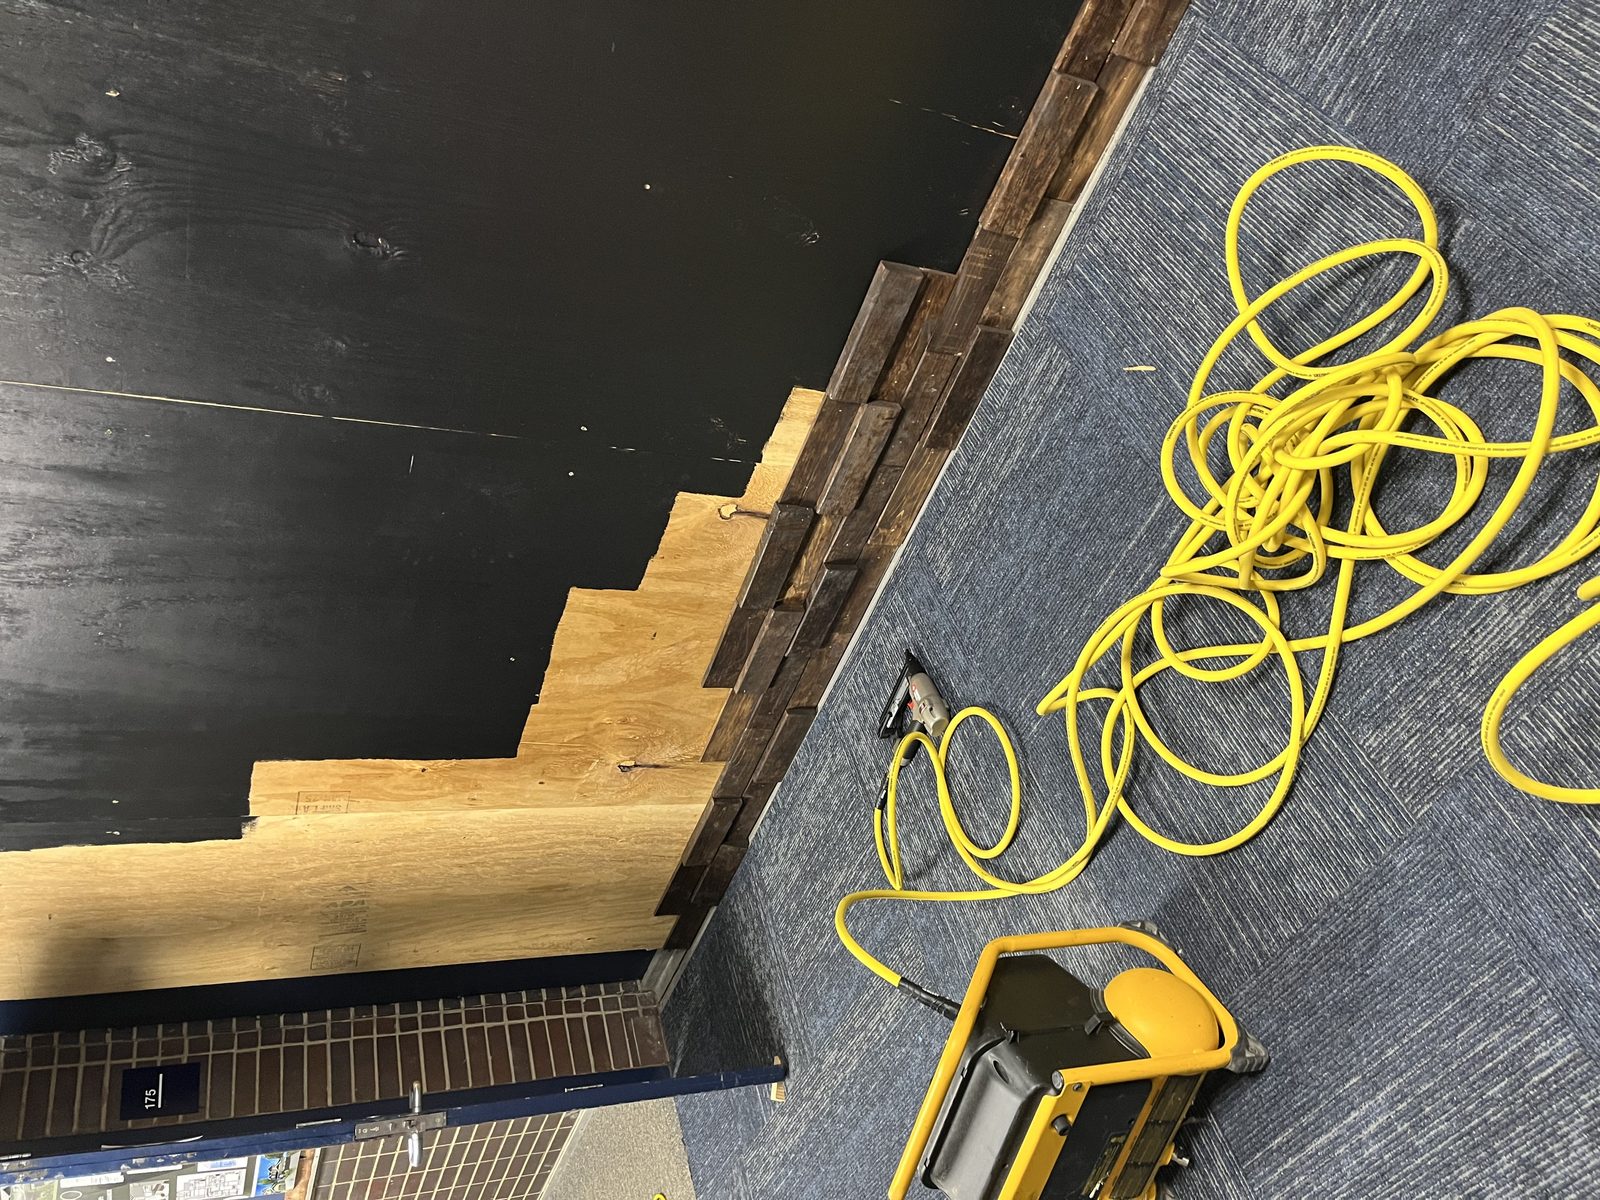
Putting up 2x4's
I began with a pressure nail gun and later switched to an electric nail gun to secure both the full and halved stained 2x4s to the wall. As I installed each piece, I focused on creating a natural, random rhythm in the layout while covering all exposed raw wood for a clean appearance.
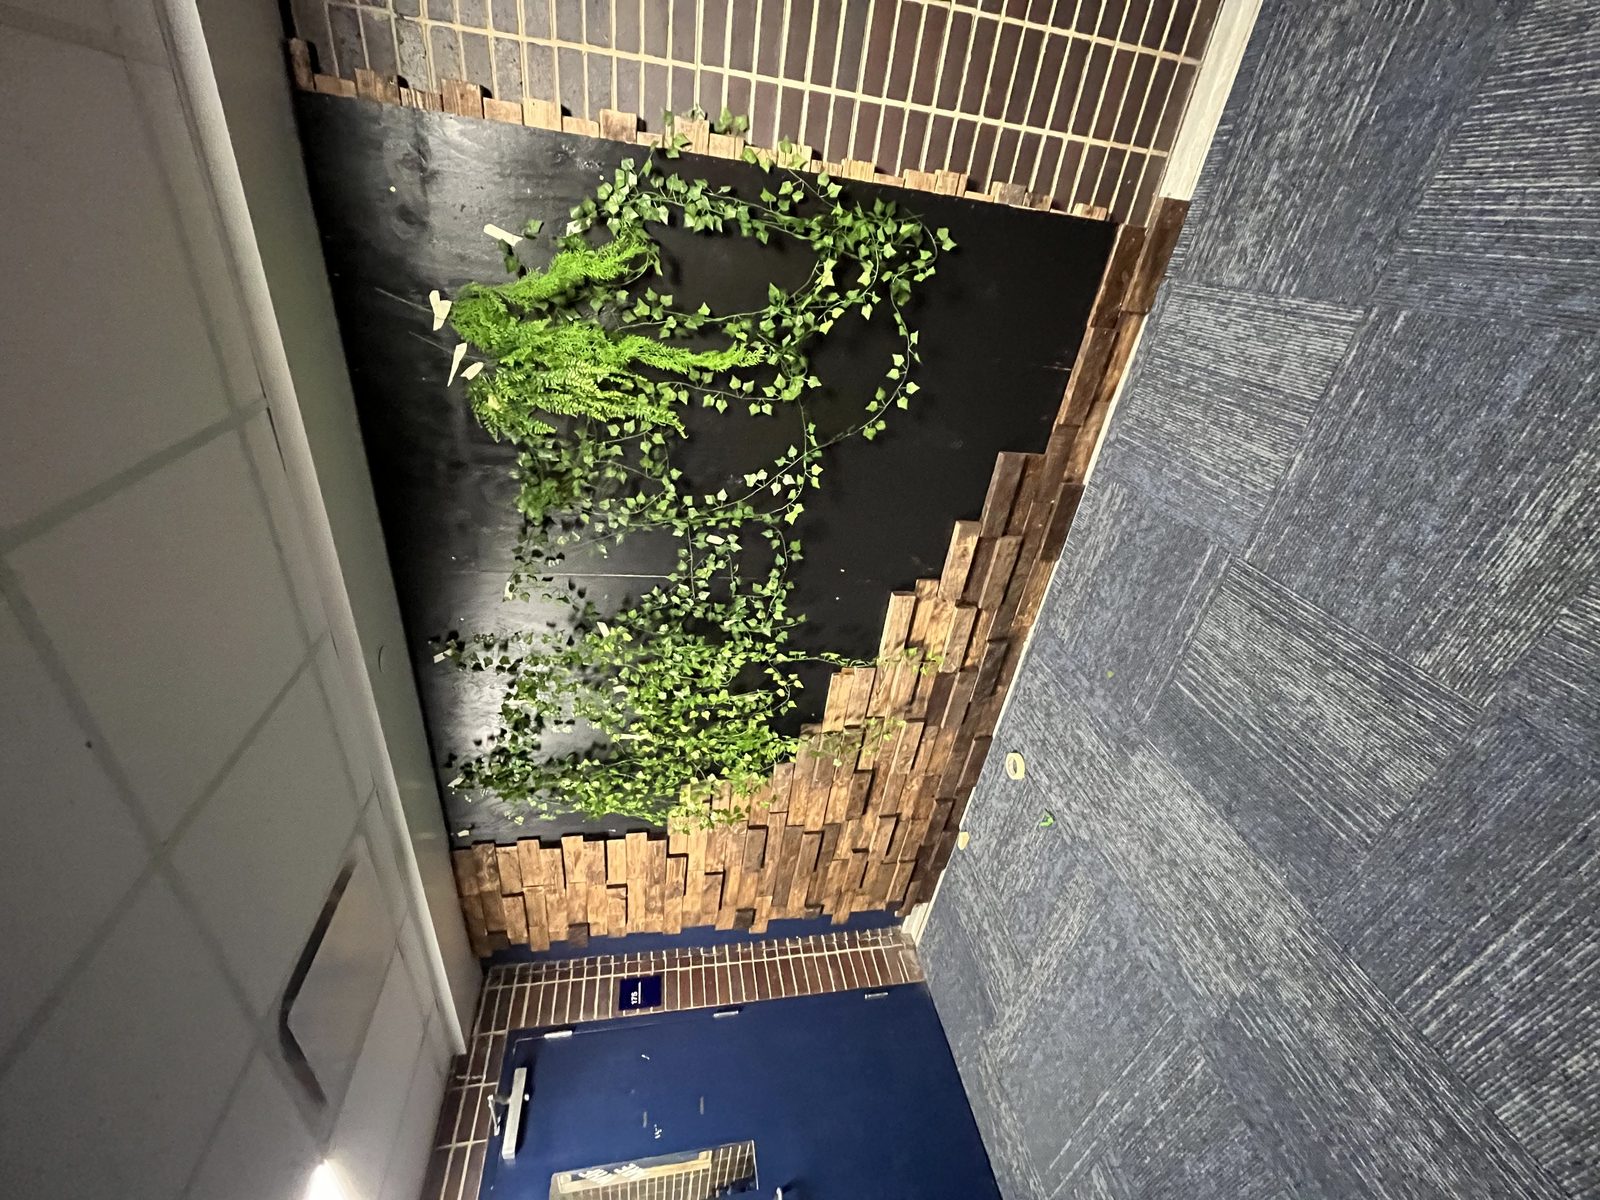
Testing how plants look
Moving into the next steps, I experimented with how the artificial leaves would look alongside the stained wood and painted black background. This early preview helped confirm that the textures and colors would work harmoniously in the final design.
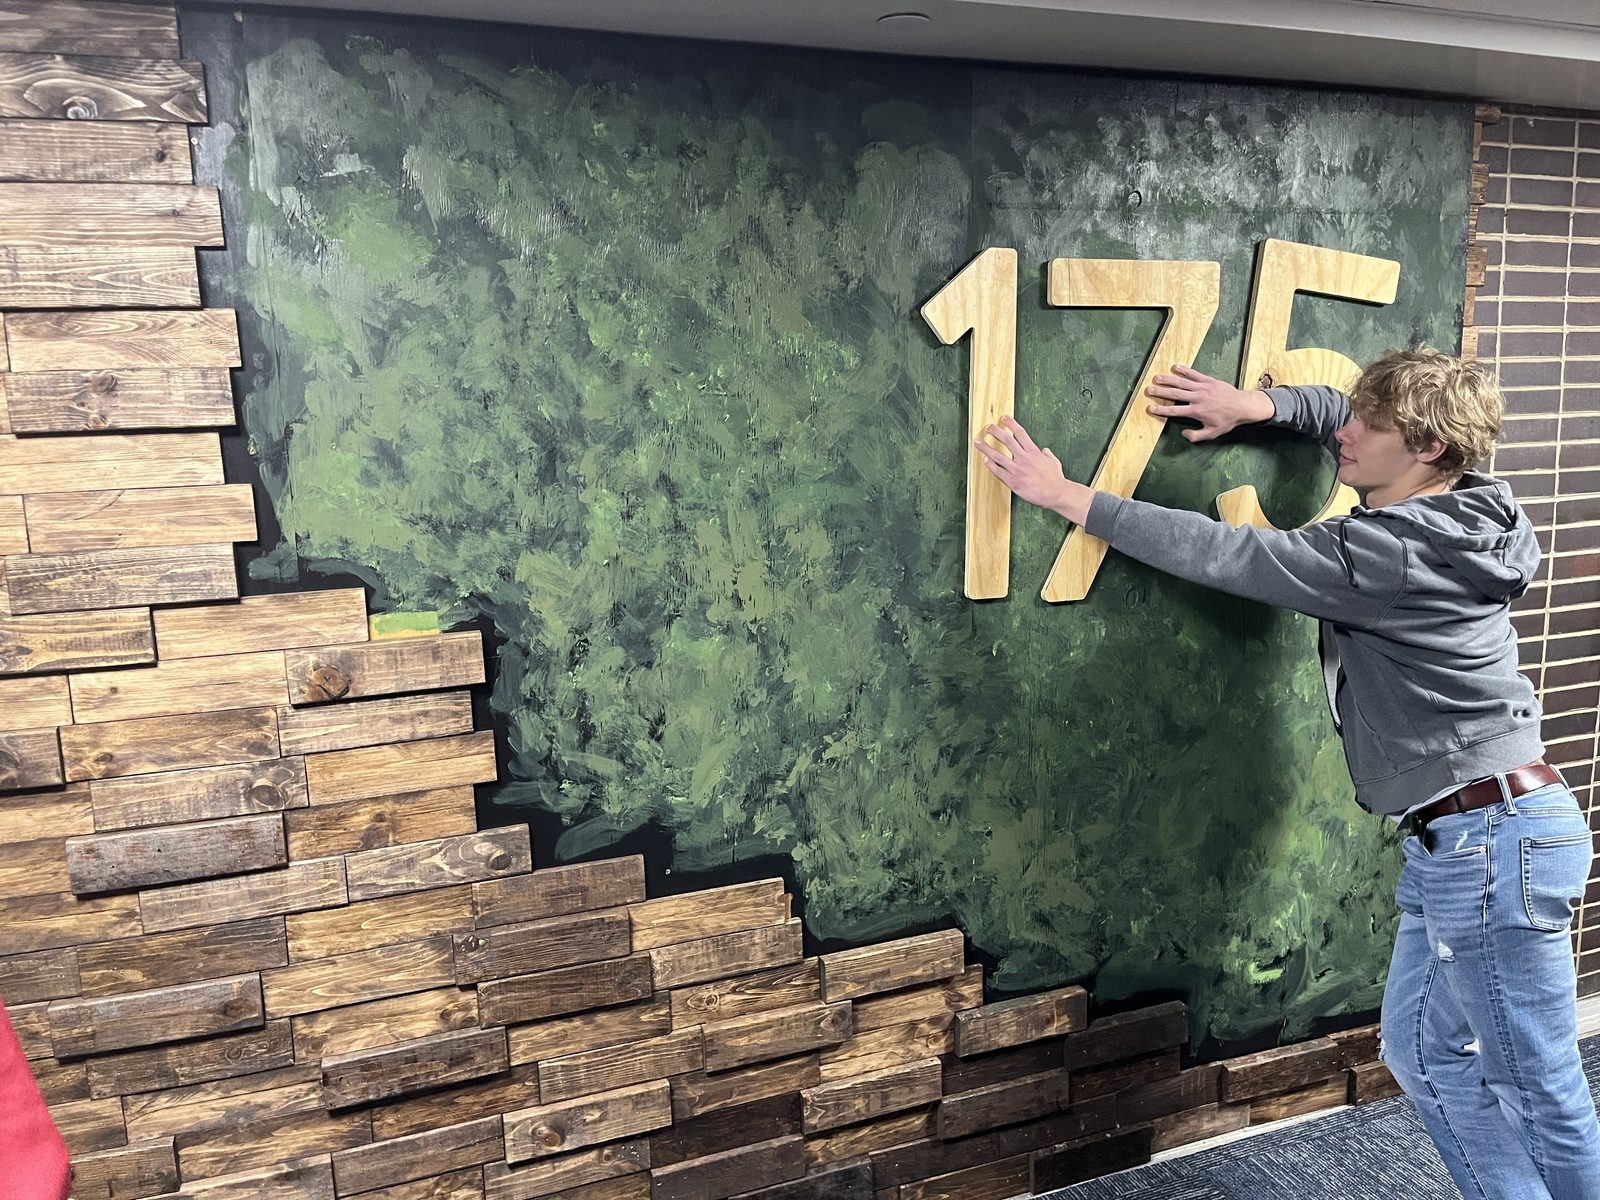
Painting wall green & placing the room number
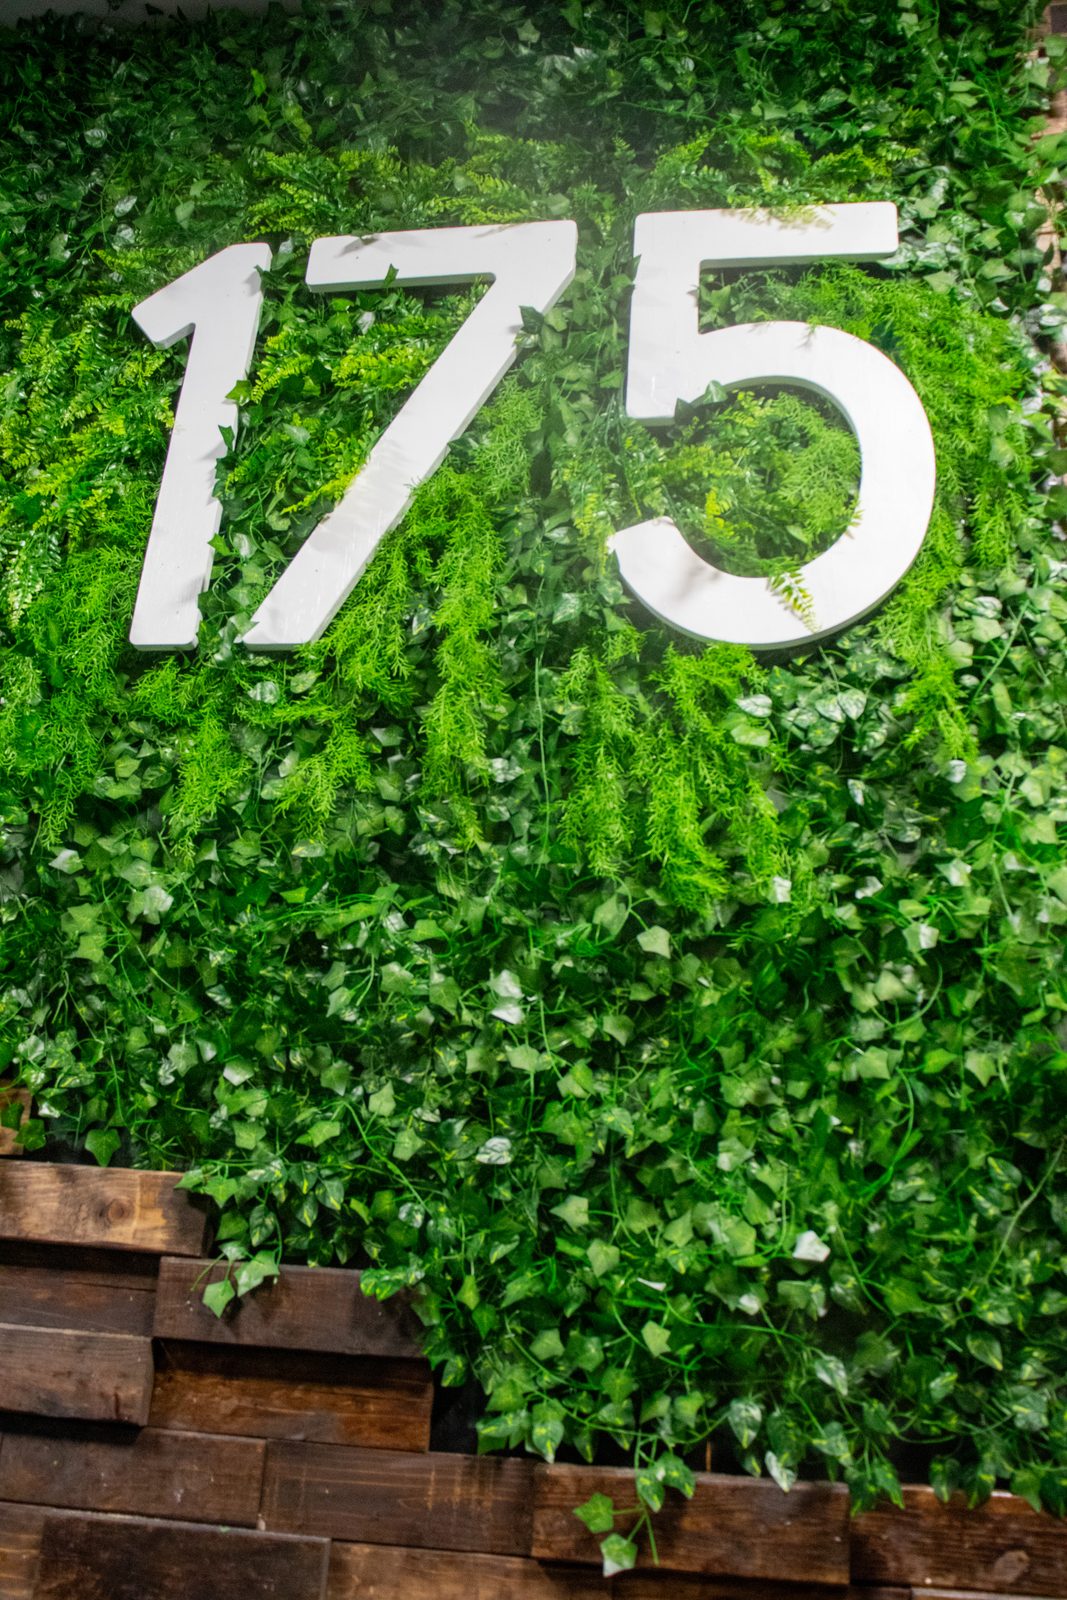
To enhance the illusion of a fully green wall and conceal any exposed backing, we painted select areas with a blend of green tones. At the same time, we used a CNC machine to cut out the room numbers, testing different placements before settling on the final position, then painted the numbers white so they stood out against the background.
Attaching initial plants
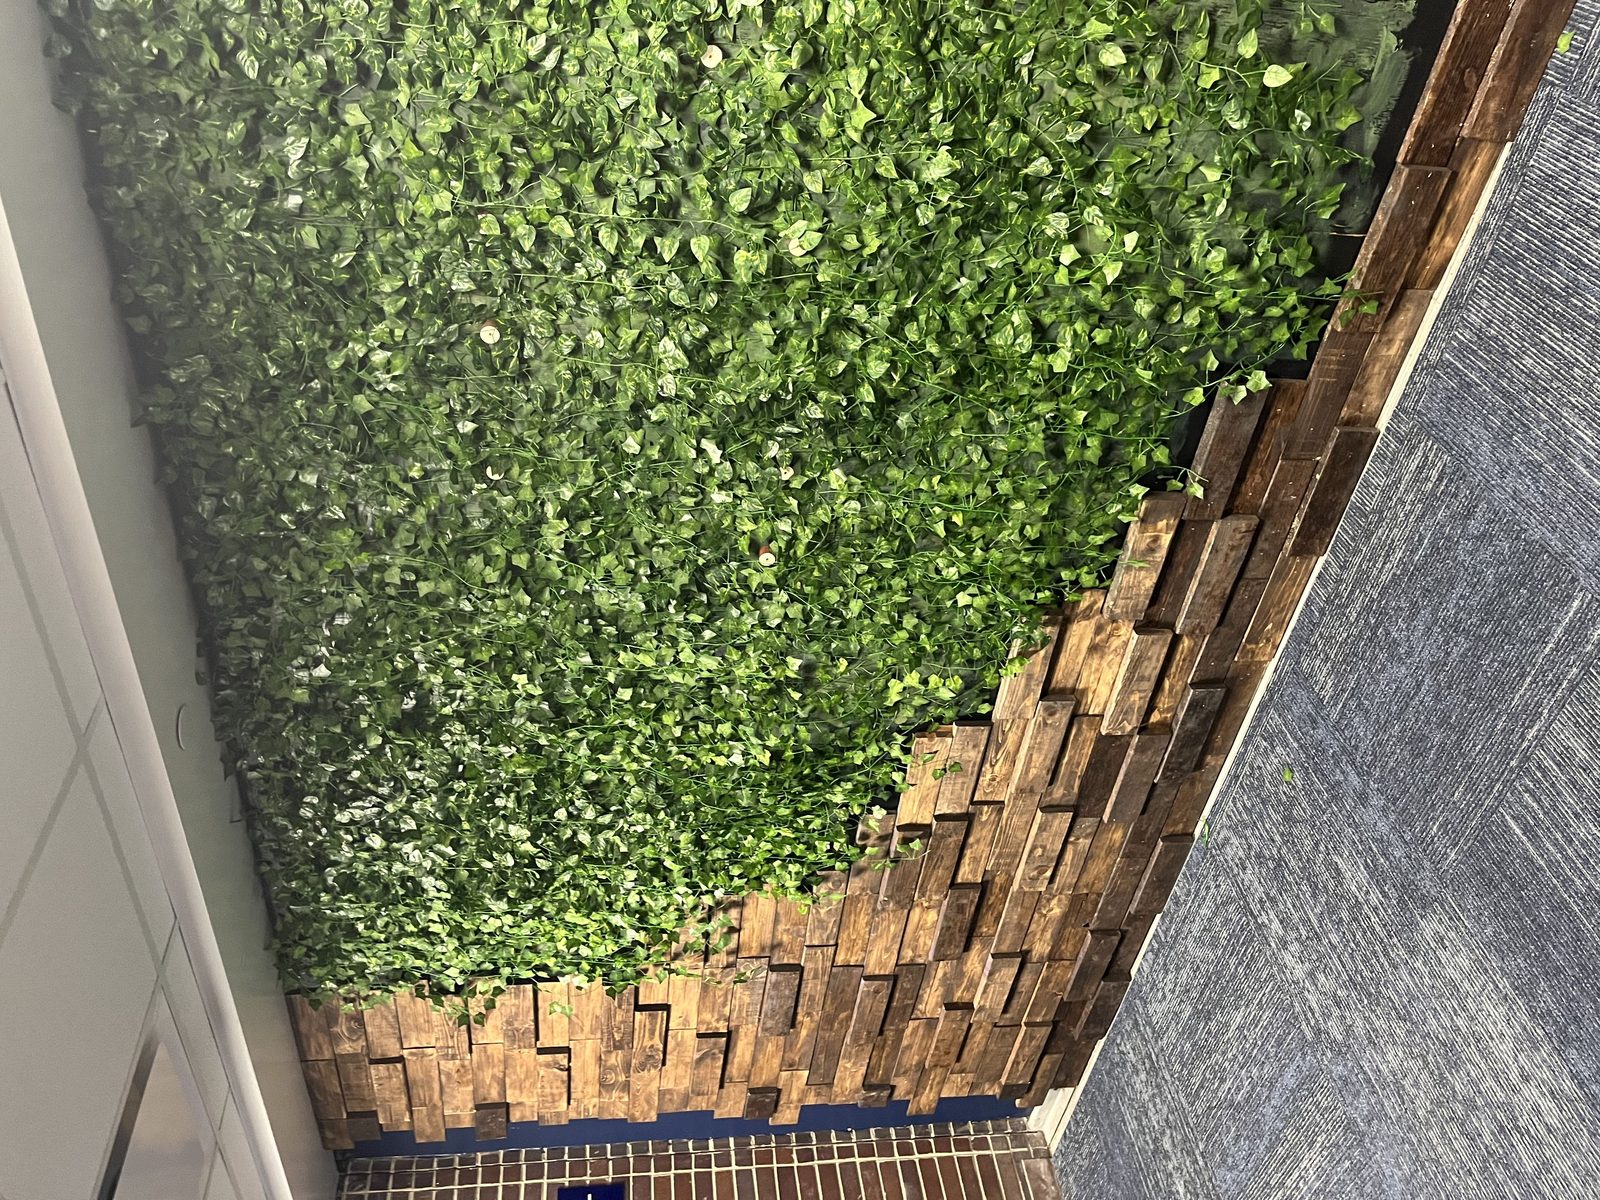
While the room numbers were drying, I began attaching the first layer of greenery to the wall. This base layer set the foundation for the more unique and textured leaves added later, establishing depth and consistency across the design.
Finishing touches
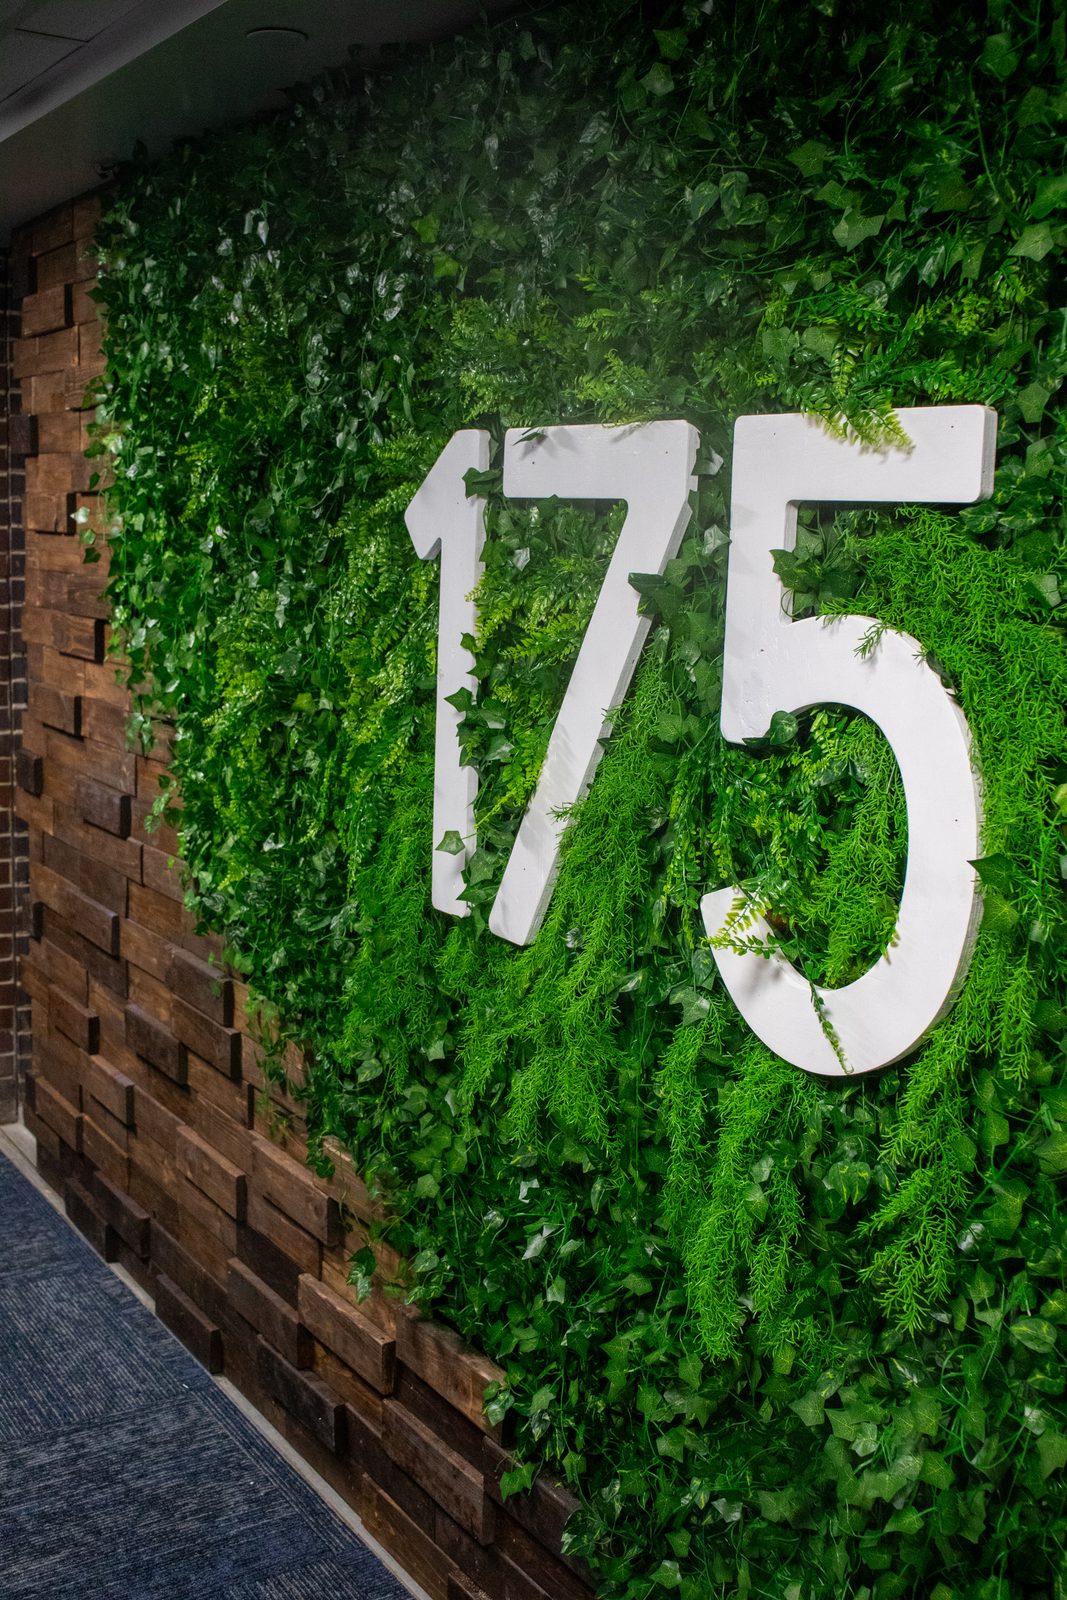
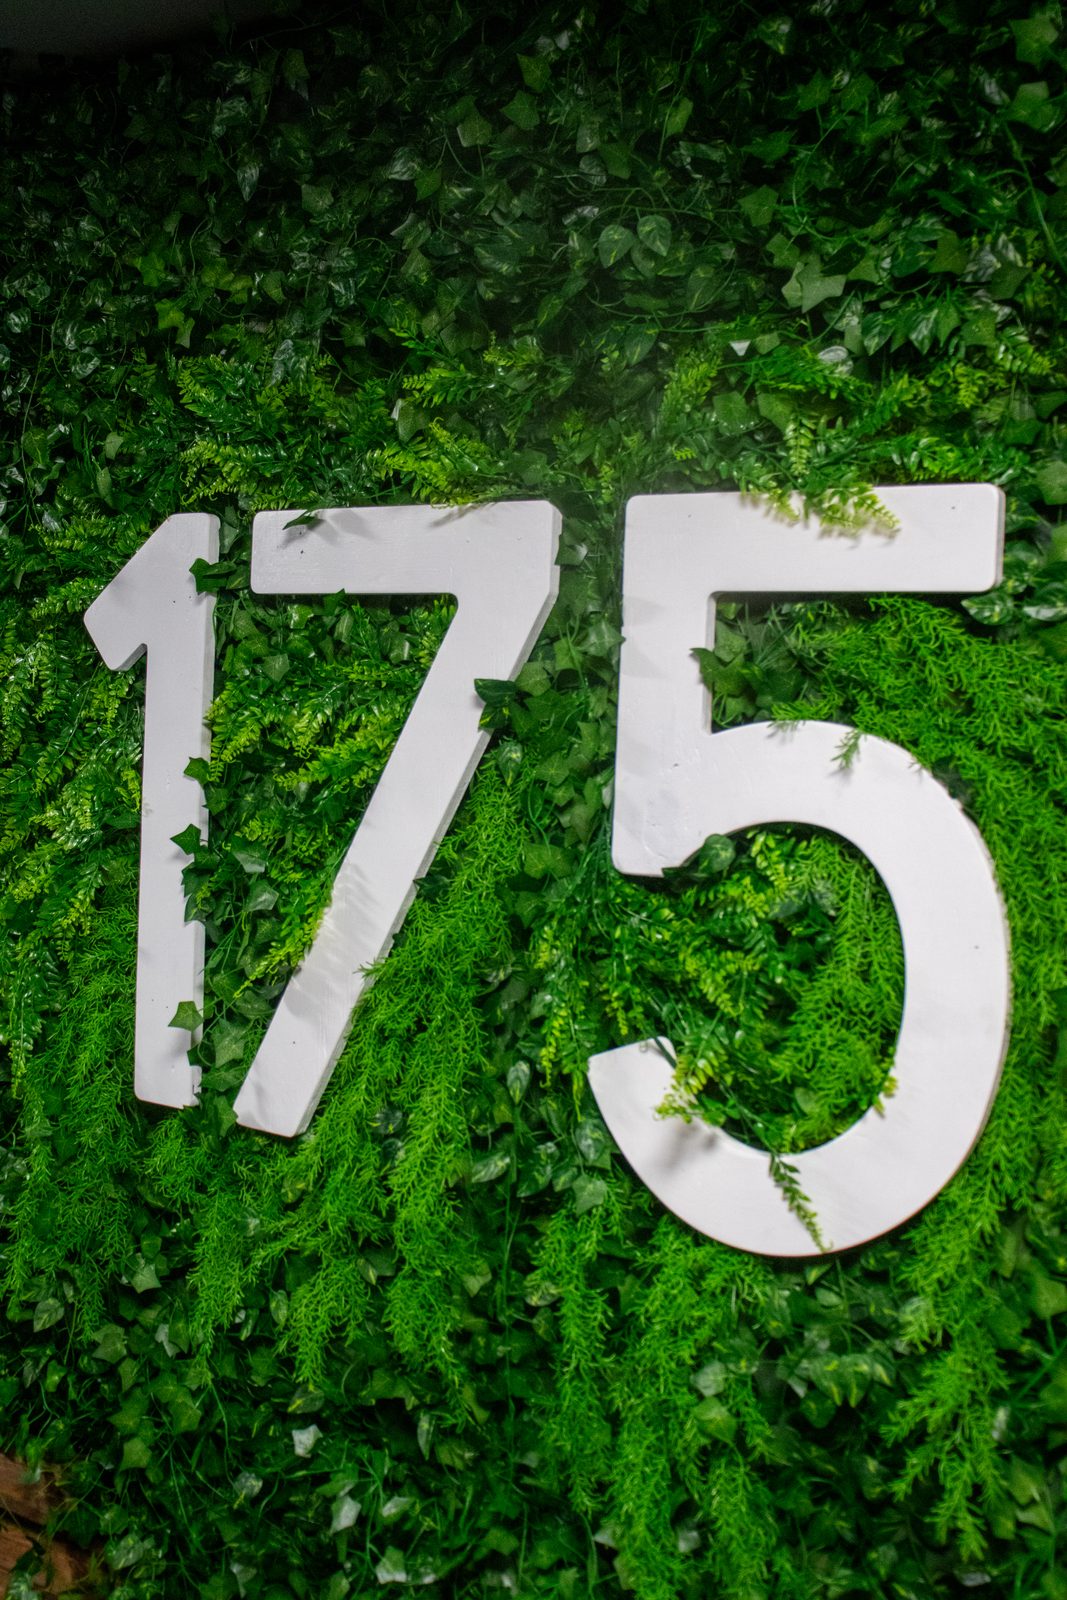
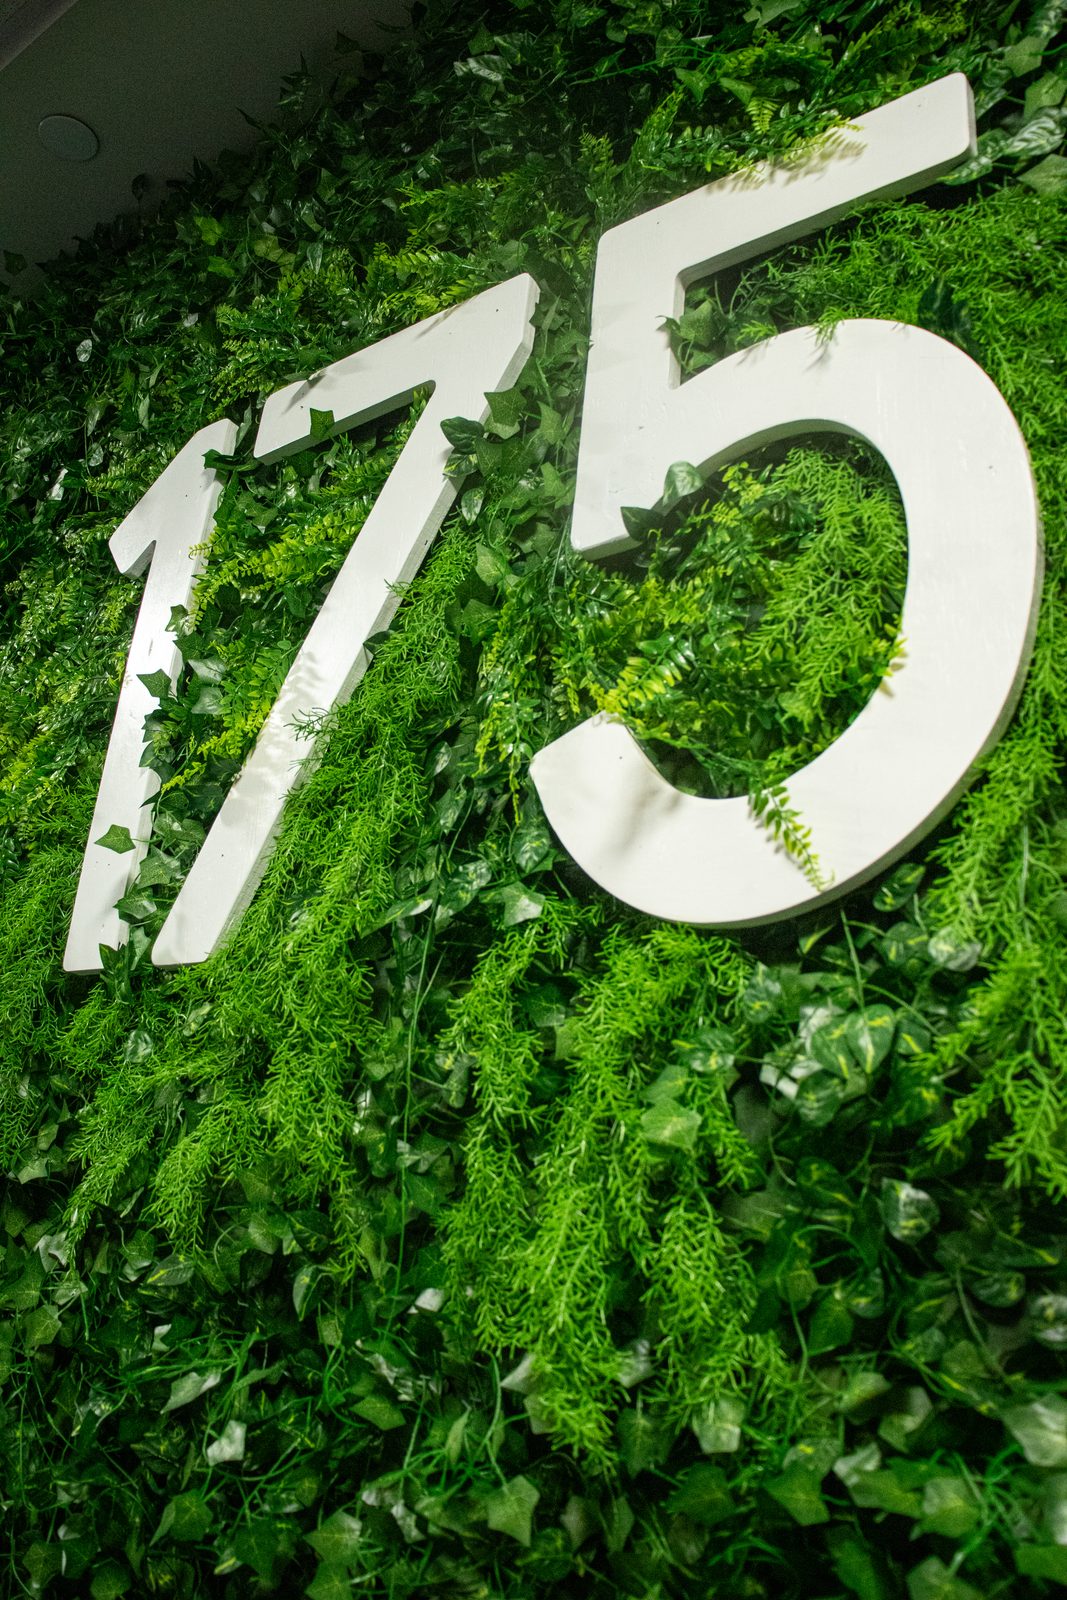
For the final touches, we attached the remaining artificial leaves to complete full coverage of the wall, then mounted the room numbers onto dowels so they stood out slightly from the greenery for added depth. With that, the Green Wall was complete.
Final product
Reflection
Although fake leaves, this project deepened my appreciation for natural design elements and taught me the value of balancing visual appeal with environmental impact. It challenged my design thinking and spatial planning skills and gave me new insight into sustainable design. I'm proud of the result and excited to bring more biophilic concepts into future builds.